How to Store Golf Clubs and Gear in Scottsdale Without Heat Damage

Most advice about storing golf clubs assumes a garage in a mild climate. In Scottsdale, that advice misses the two things that shorten golf gear’s life here: heat and long gaps between rounds. Clubs get left in a parked car after a morning round, bags sit in a garage through July, and snowbirds head north for half the year.

The short version: clean and dry everything, keep it out of the heat, and store it upright in a cool indoor space. Details vary depending on how long the gear sits, so this guide breaks it down by situation, then covers prep, sizing, and what to check when you pull everything back out.

Fix the Car Problem Before the Storage Problem

For many Scottsdale golfers, the hottest place their clubs ever sit is not the garage or a storage unit. It is the trunk. NHTSA notes that the inside of a parked car can heat up by about 20 degrees in just 10 minutes, and a trunk is no cooler on a summer afternoon.

Titleist makes the same point about golf balls: its guidance is to store balls indoors year-round and avoid leaving them in a car trunk in sweltering or freezing weather. Club makers and fitters give similar advice for clubs, since heat is hard on grips and on the epoxy that bonds each head to its shaft. Manufacturers don’t publish a precise temperature limit for that bond, so treat it as a reason for caution, not a hard rule.

The fix costs nothing: bring the bag inside right after the round, and if you are driving it to storage, go straight there instead of running errands first.

What Heat and Dry Air Do to Each Piece of Gear

  • Grips: rubber and synthetic grips dry out, harden, and lose tack with sustained heat and sun. If your grips already feel slick or cracked, replace them before storing, not after.
  • Shafts and heads: sustained heat is the main concern for the glue joint, and moisture is the concern for steel heads. Clean and dry them fully before they go away.
  • Balls: Titleist advises letting balls that have been exposed to extremes return gradually to room temperature before playing them.
  • Bag, towels, and gloves: a damp towel or glove left in a pocket can grow mildew, and Arizona’s monsoon season (mid-June through September) brings humidity spikes even in a dry climate.
  • Shoes and leather gloves: leather dries out and cracks in extreme heat, and wet shoes sealed in plastic develop odor and mold.
  • Rangefinders and GPS devices: lithium batteries and heat do not mix. See our guide to storing electronics safely.
  • Push carts: wipe down, dry completely, and fold before storing. Metal parts can rust if they’re stored damp.

Pick Your Storage Situation

Where the gear should go depends mostly on how long it will sit.

A summer break (a few weeks to a few months)

Many golfers play less from June through August, but the clubs stay in the house. The best spot is an interior closet in the air-conditioned part of your home, which beats a garage by a wide margin. If closet space is the problem, a small indoor unit solves it without moving the clubs into extreme heat. Our post on how Arizona’s heat affects stored items explains why garages and sheds are the weak link.

The snowbird off-season (six months or more)

Gear that sits for half a year deserves a more careful prep. Make the grip decision before you store, not when you get back: if grips are worn, schedule the regrip now so the clubs are ready for your first round in the fall. Plan a check-in too; our guide on how often to check on your storage unit covers what to do if you will be out of state. For the rest of the seasonal routine, see storage tips for snowbirds in Scottsdale.

Between homes or during a renovation

The priority here is protecting gear while everything else is in motion. Keep the bag upright and separate from boxes that could be stacked on it, and do not store it with paint, solvents, or fuel. Combustibles are not allowed in storage units.

How to Prep Clubs, Bag, and Shoes for Storage

  1. Clean the heads. Use warm water, mild soap, and a soft brush on the grooves, then dry fully with a towel.
  2. Wipe shafts and grips. Mild soap and water are enough. Let the grips dry completely before the clubs go in the bag.
  3. Empty the bag and check every pocket. Remove towels, gloves, balls, tees, and food. Look especially for sunscreen, bug spray, drinks, and other liquids or aerosols, since liquids and flammables are not allowed in a unit.
  4. Use headcovers and keep the bag upright. Stand it on a shelf or a stand, off the floor, with nothing stacked on top.
  5. Prep shoes and gloves. Clean and dry shoes, stuff them with paper or use shoe trees, and condition the leather. Avoid sealed plastic bags.
  6. Fold and wipe the push cart. Dry it completely first, and wipe metal parts so they do not rust.
  7. Take photos and label. A quick photo of what is in the unit and a labeled bag make retrieval easier. Our packing and storage tips have more on this.

A note on batteries: golf cart and electric push-cart batteries are the one item to ask about before you pack anything. Facilities generally restrict liquids, flammables, and hazardous materials, and our prohibited list includes all three, so confirm with the office first. If a battery is not approved, store it at home away from heat.
How to Store Golf Clubs and Gear in Scottsdale Without Heat Damage

What Size Unit Do You Need?

A golf bag is tall but narrow, so you do not need much floor space. A 5×5, about the size of a walk-in closet, typically fits one or two bags and a folded push cart. A 5×10 gives you space for several sets, shoes, and bins on a shelf. Measure your bag height and the folded size of your cart before you decide. Our guides to 5×5 units and 5×10 units and the space estimator can help you confirm.

When You Take the Gear Back Out

  • Check grips for cracks, slickness, or a hard surface.
  • Look over the heads for rust or loose ferrules, and listen for any rattle in the hosel.
  • Let balls come up to room temperature gradually before you play them.
  • Check shoes and bag pockets for mildew or odor.
  • Hit a few balls on the range before your first full round.

Need a Cool, Indoor Place for the Off-Season?

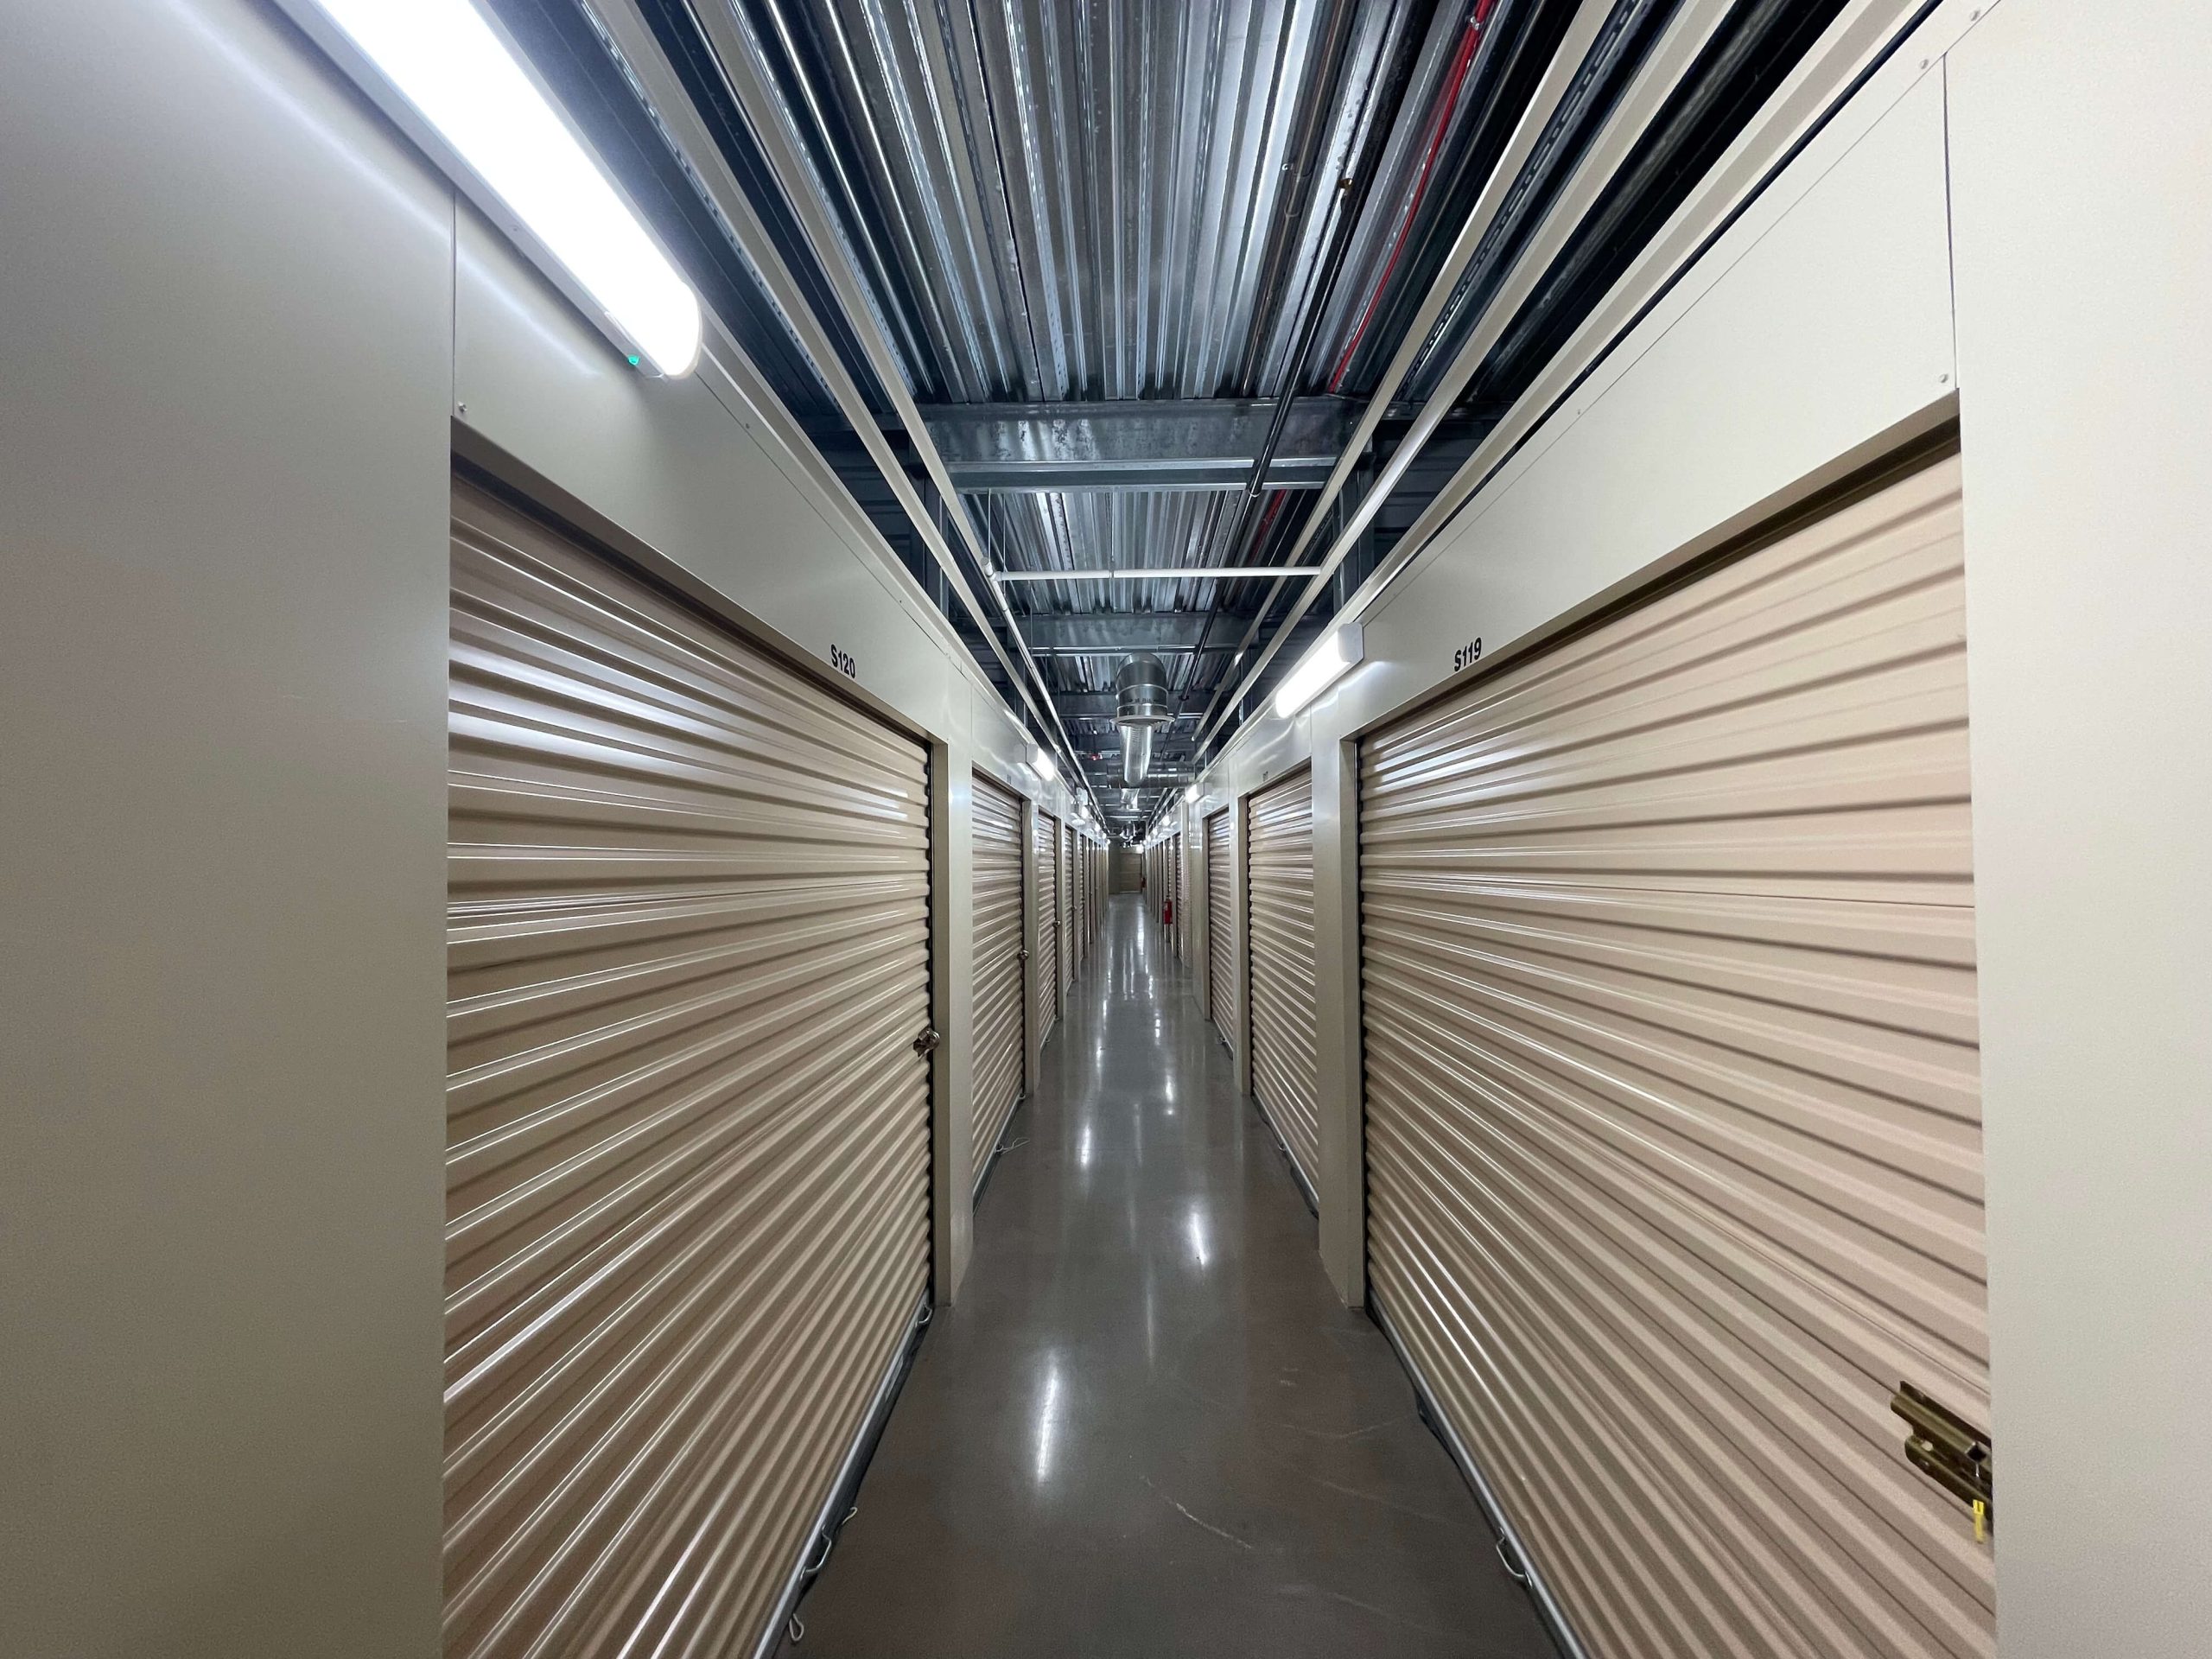
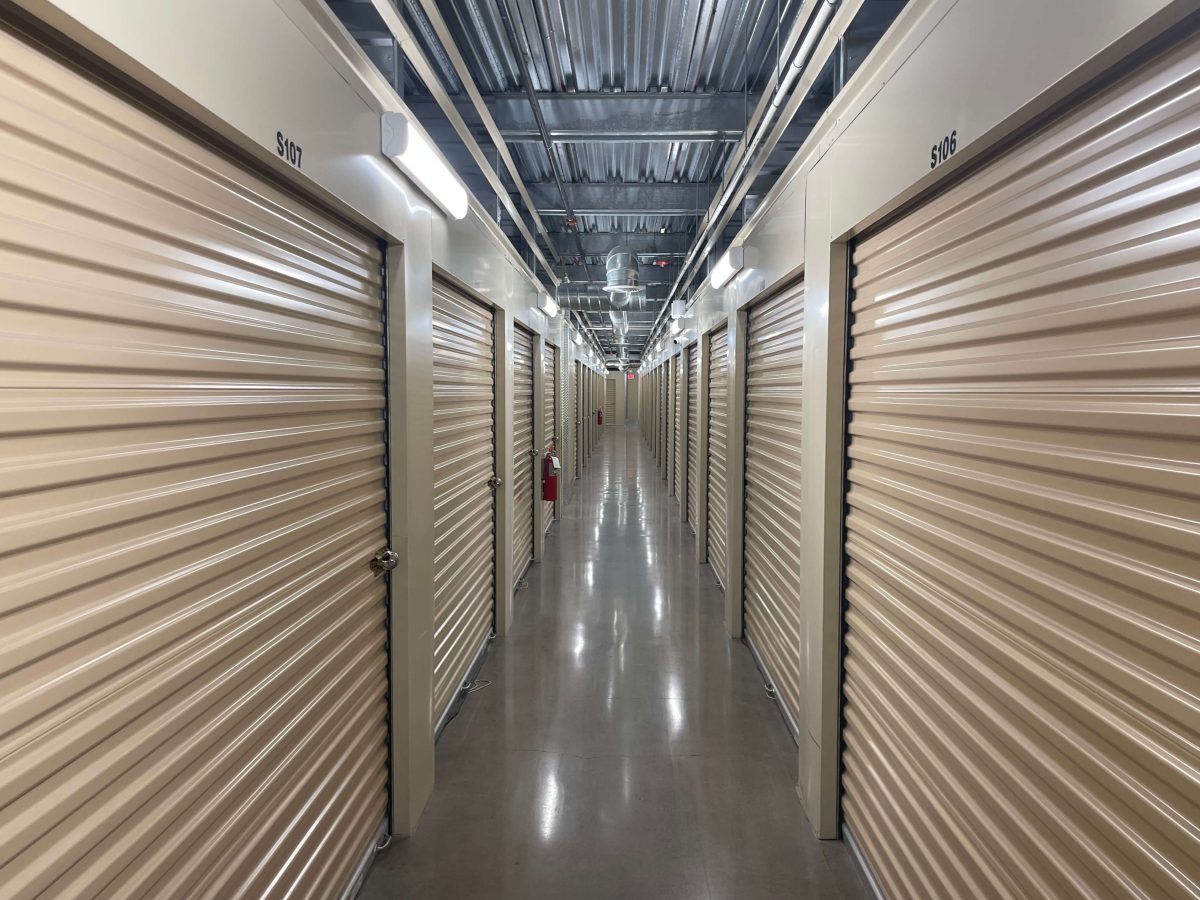
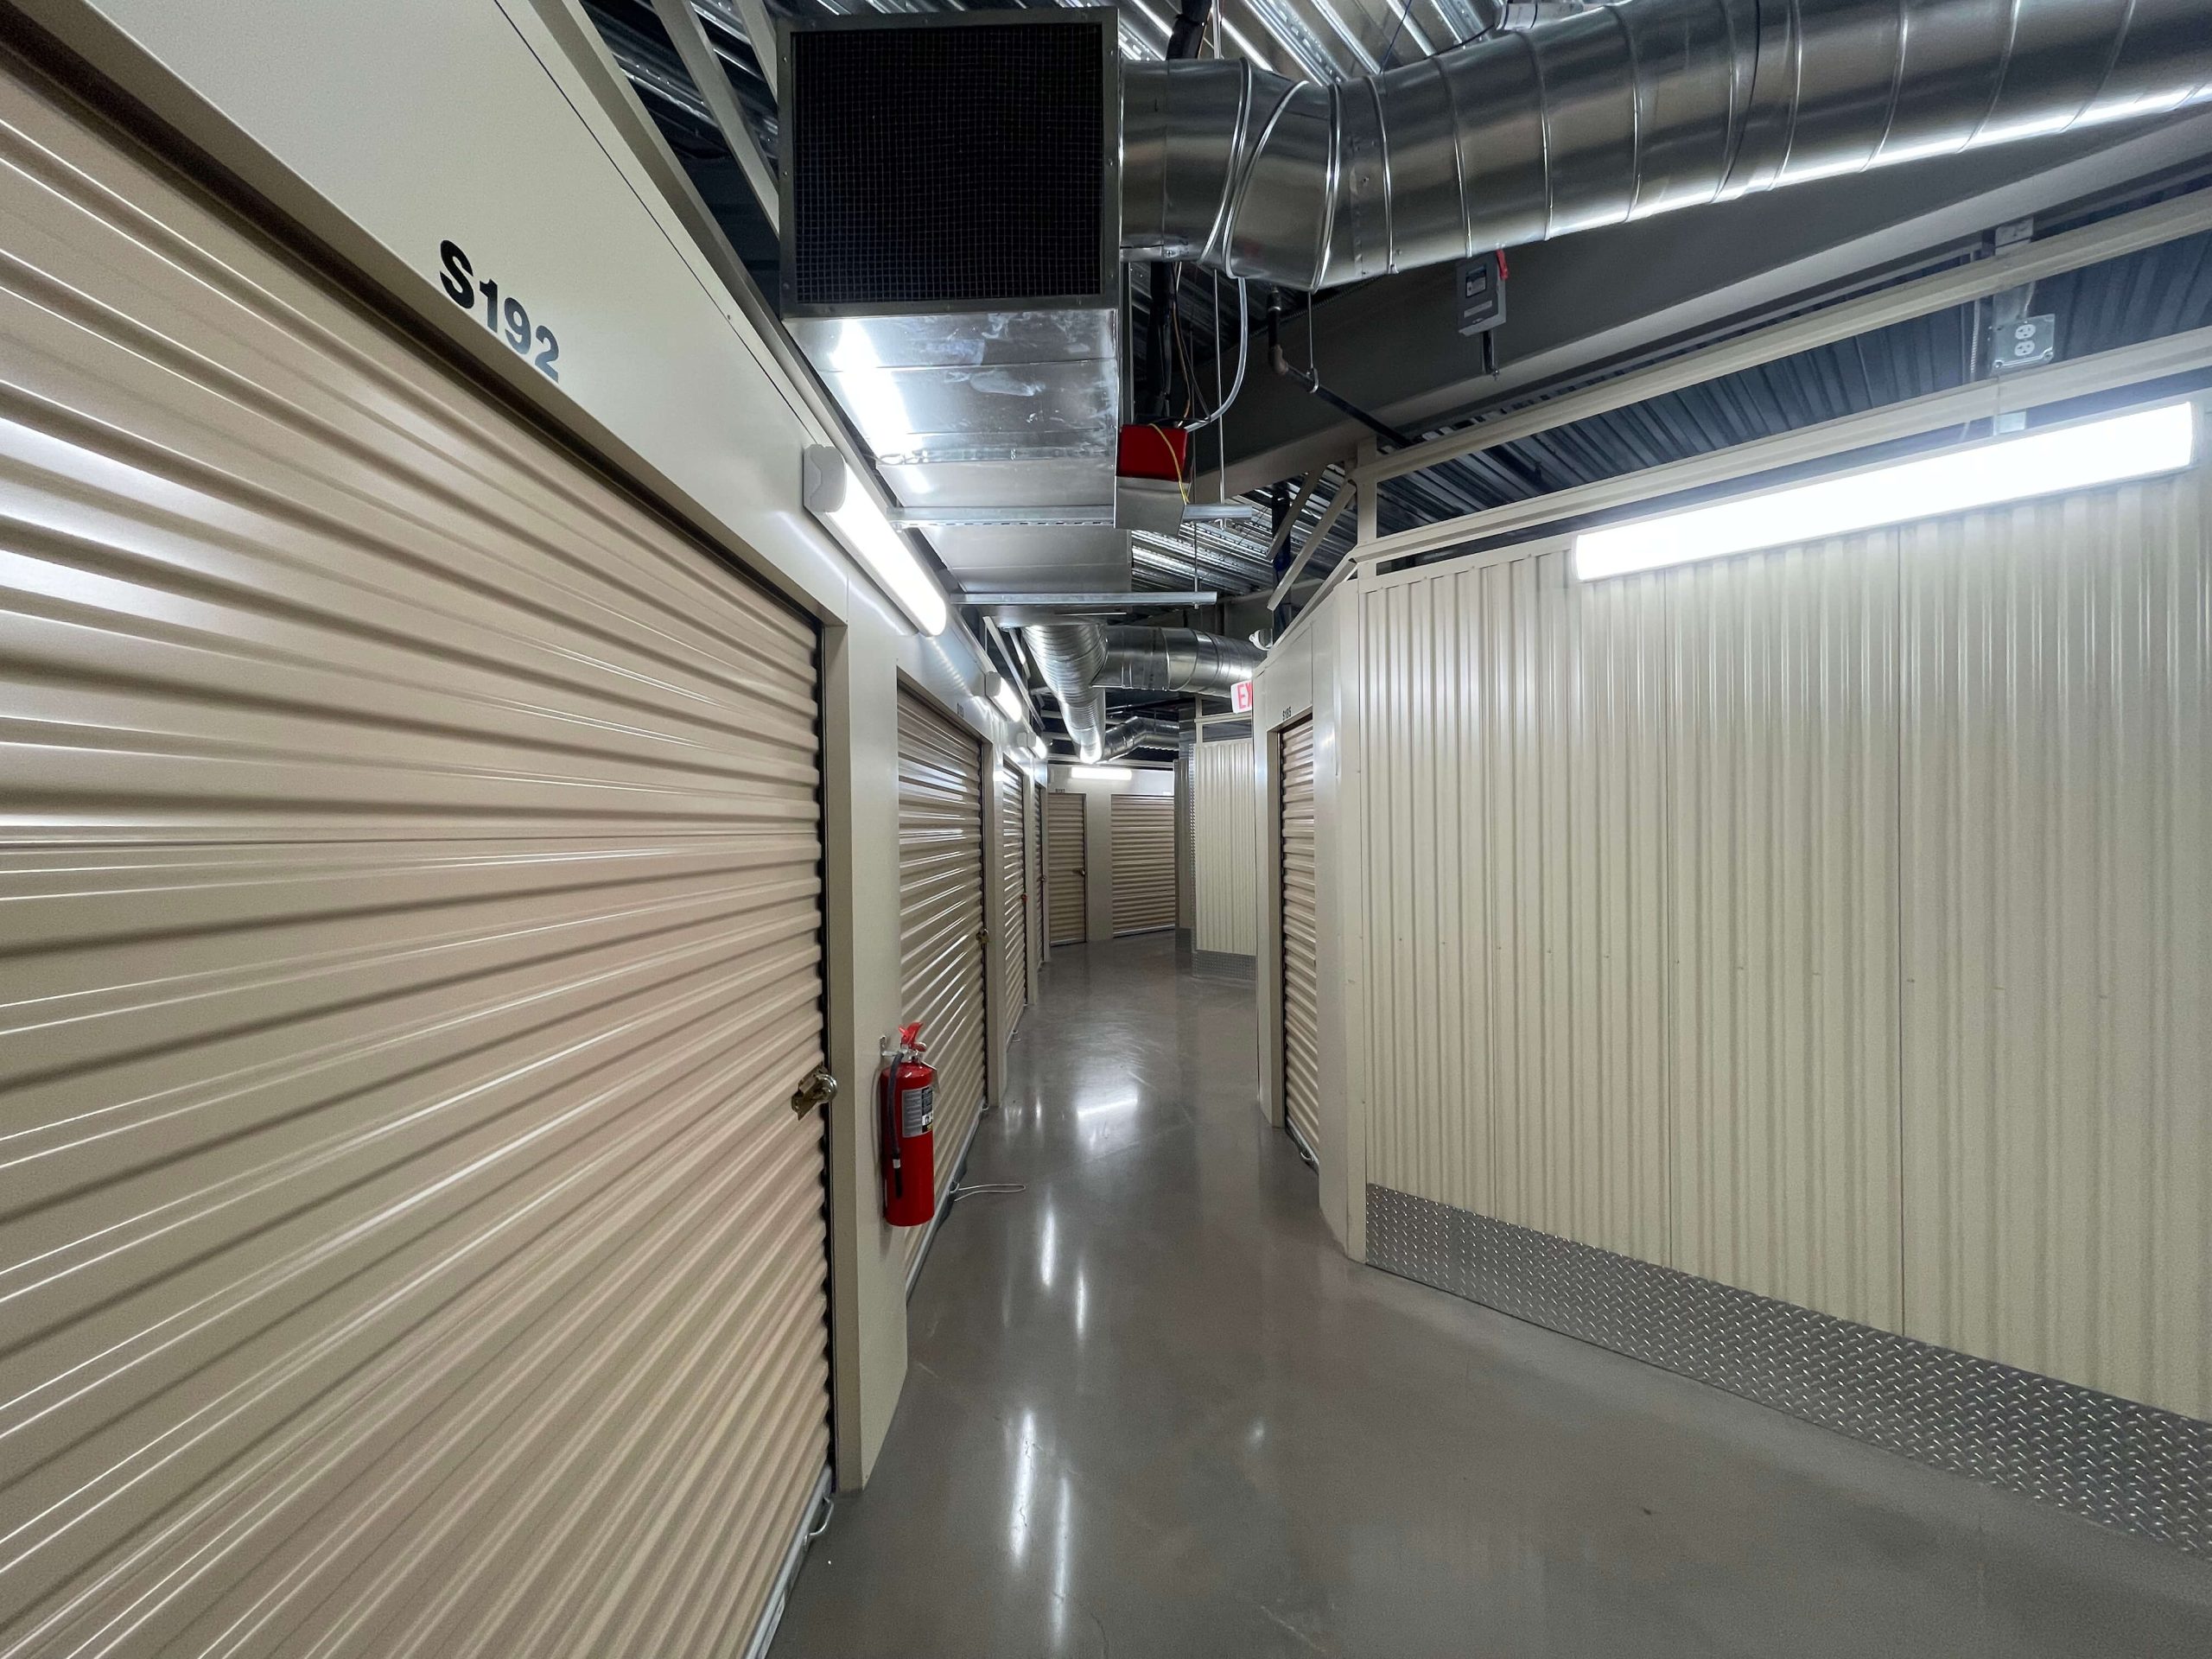
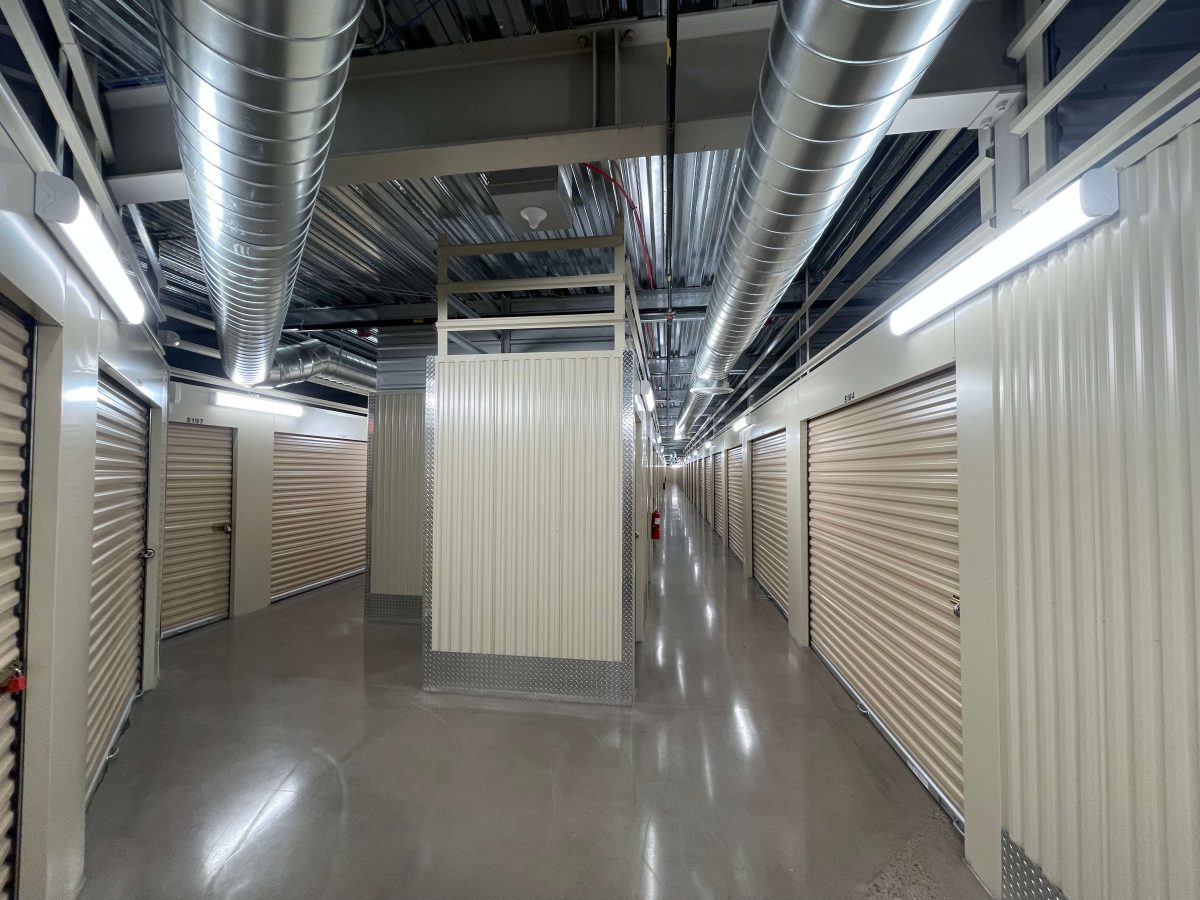
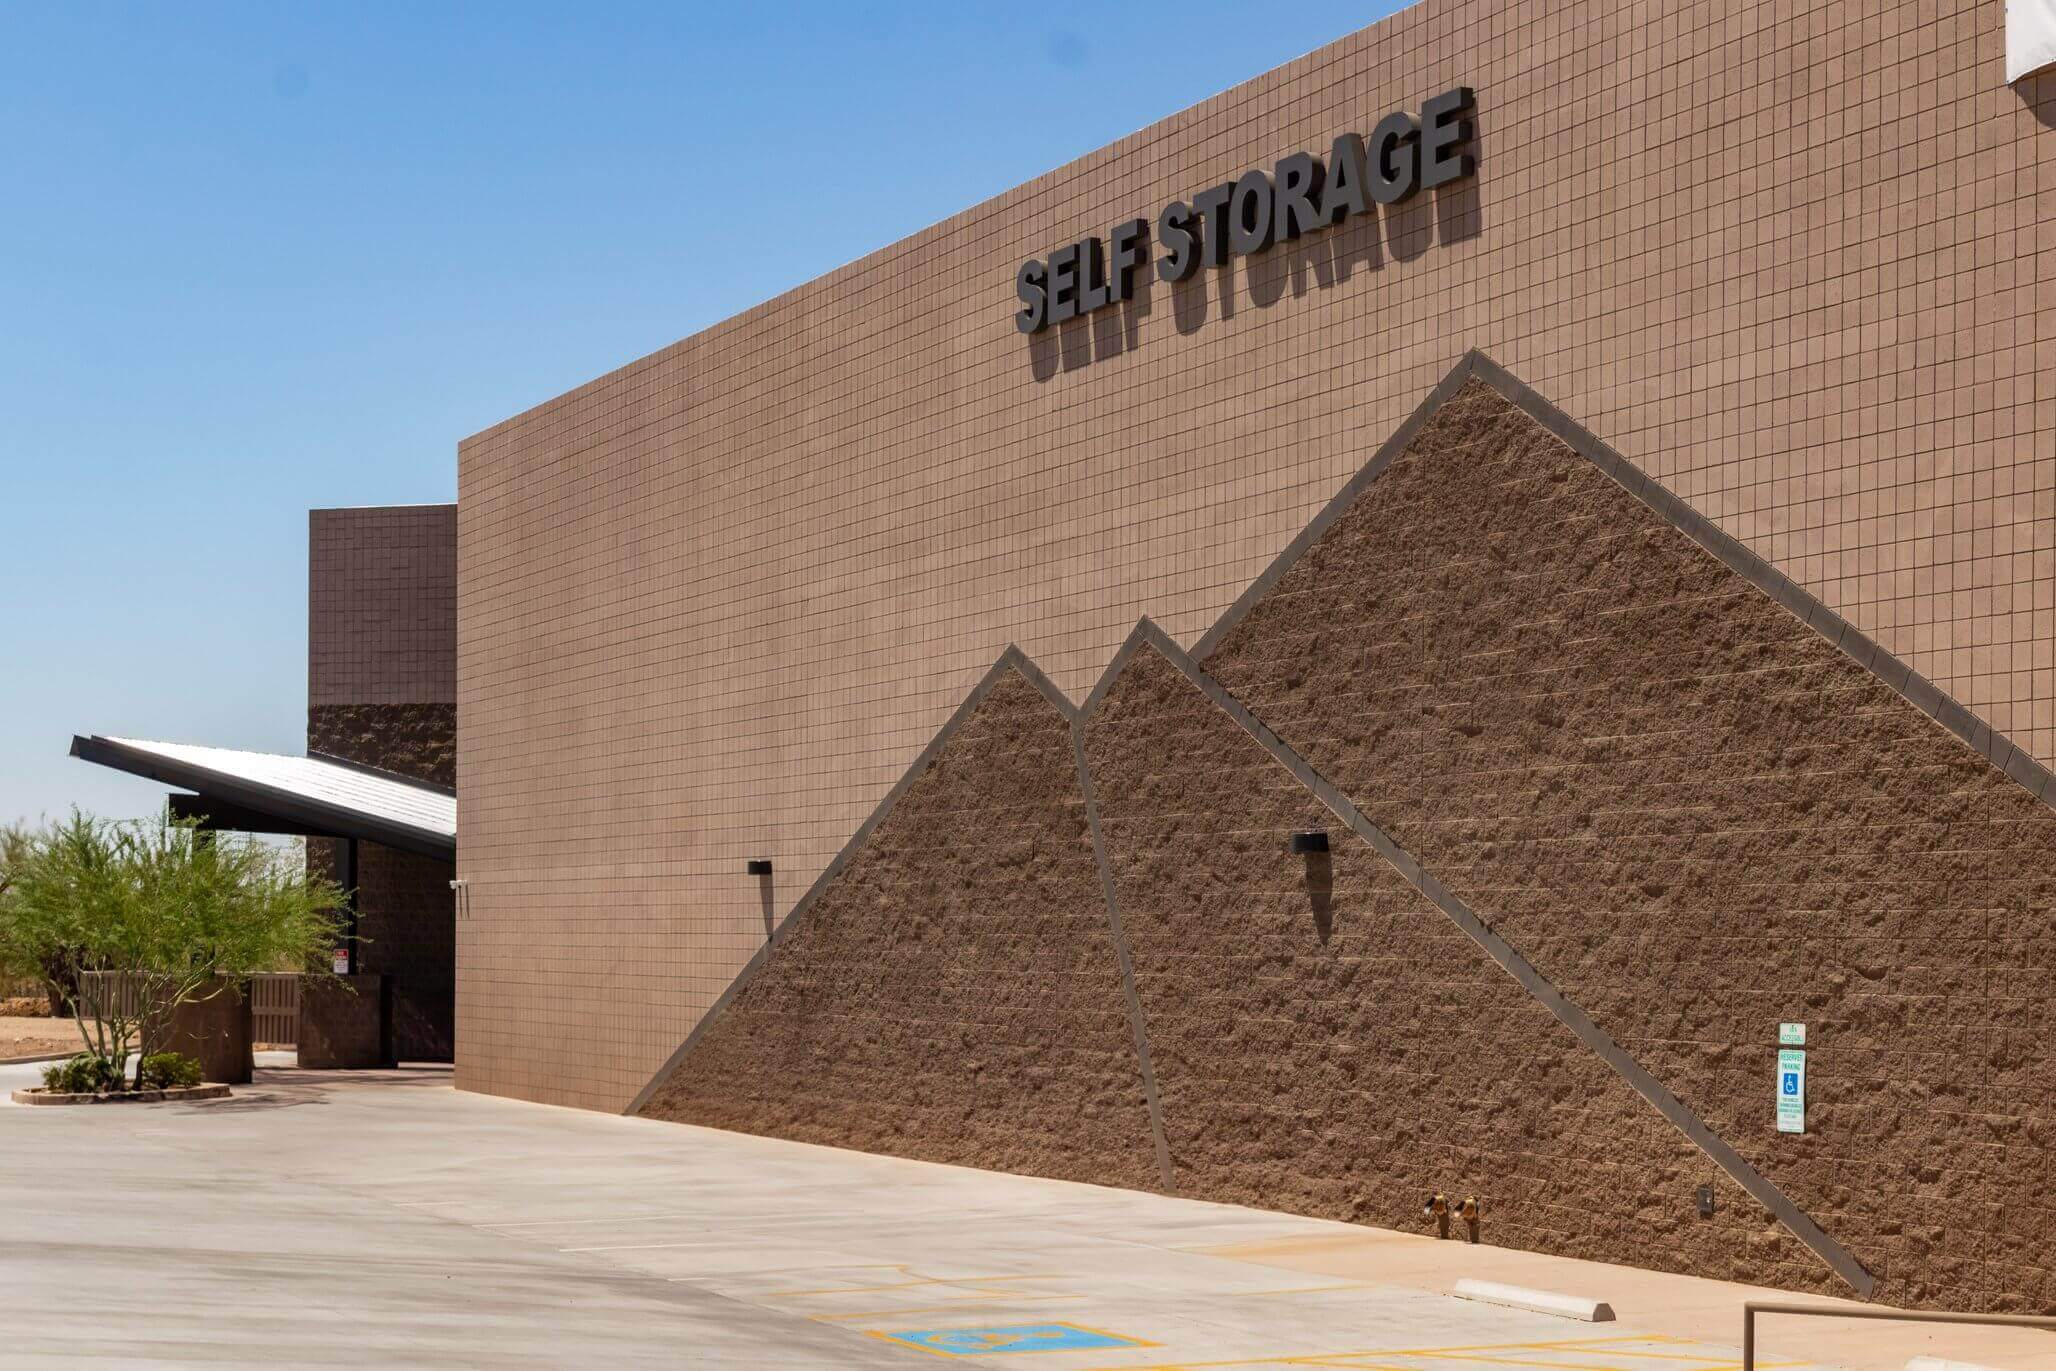
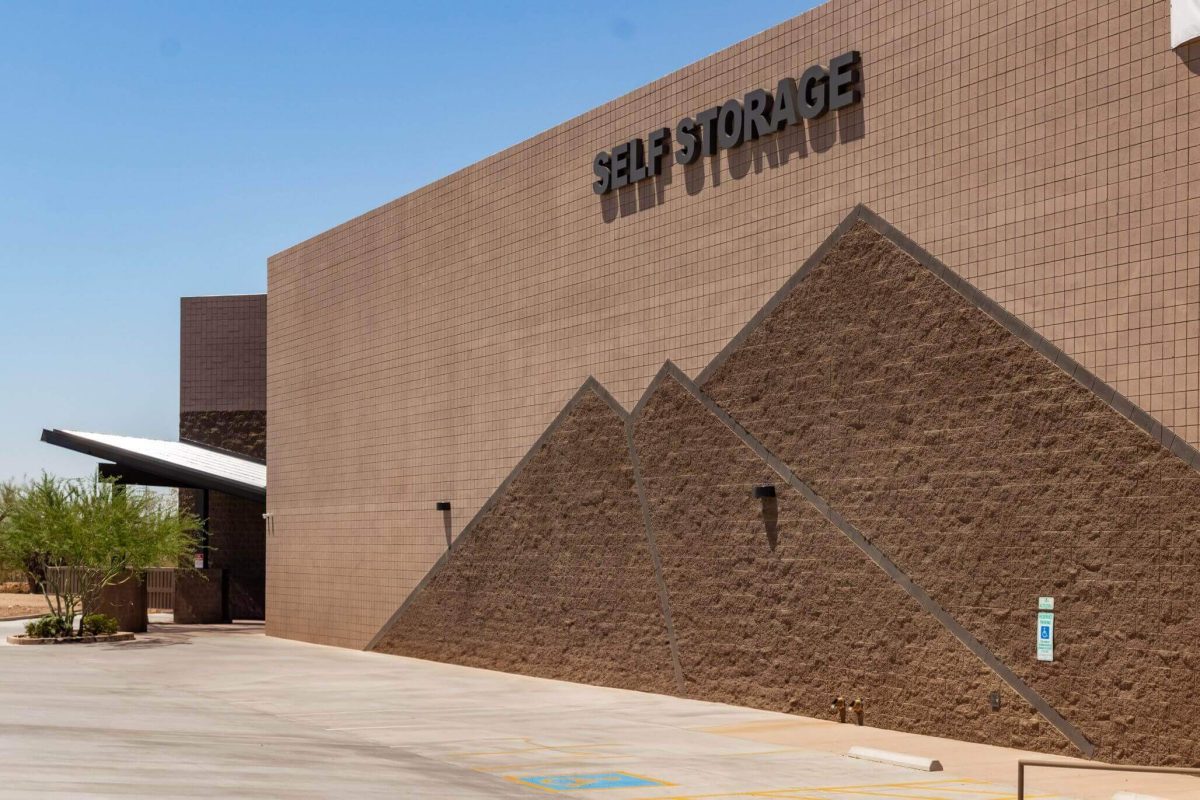
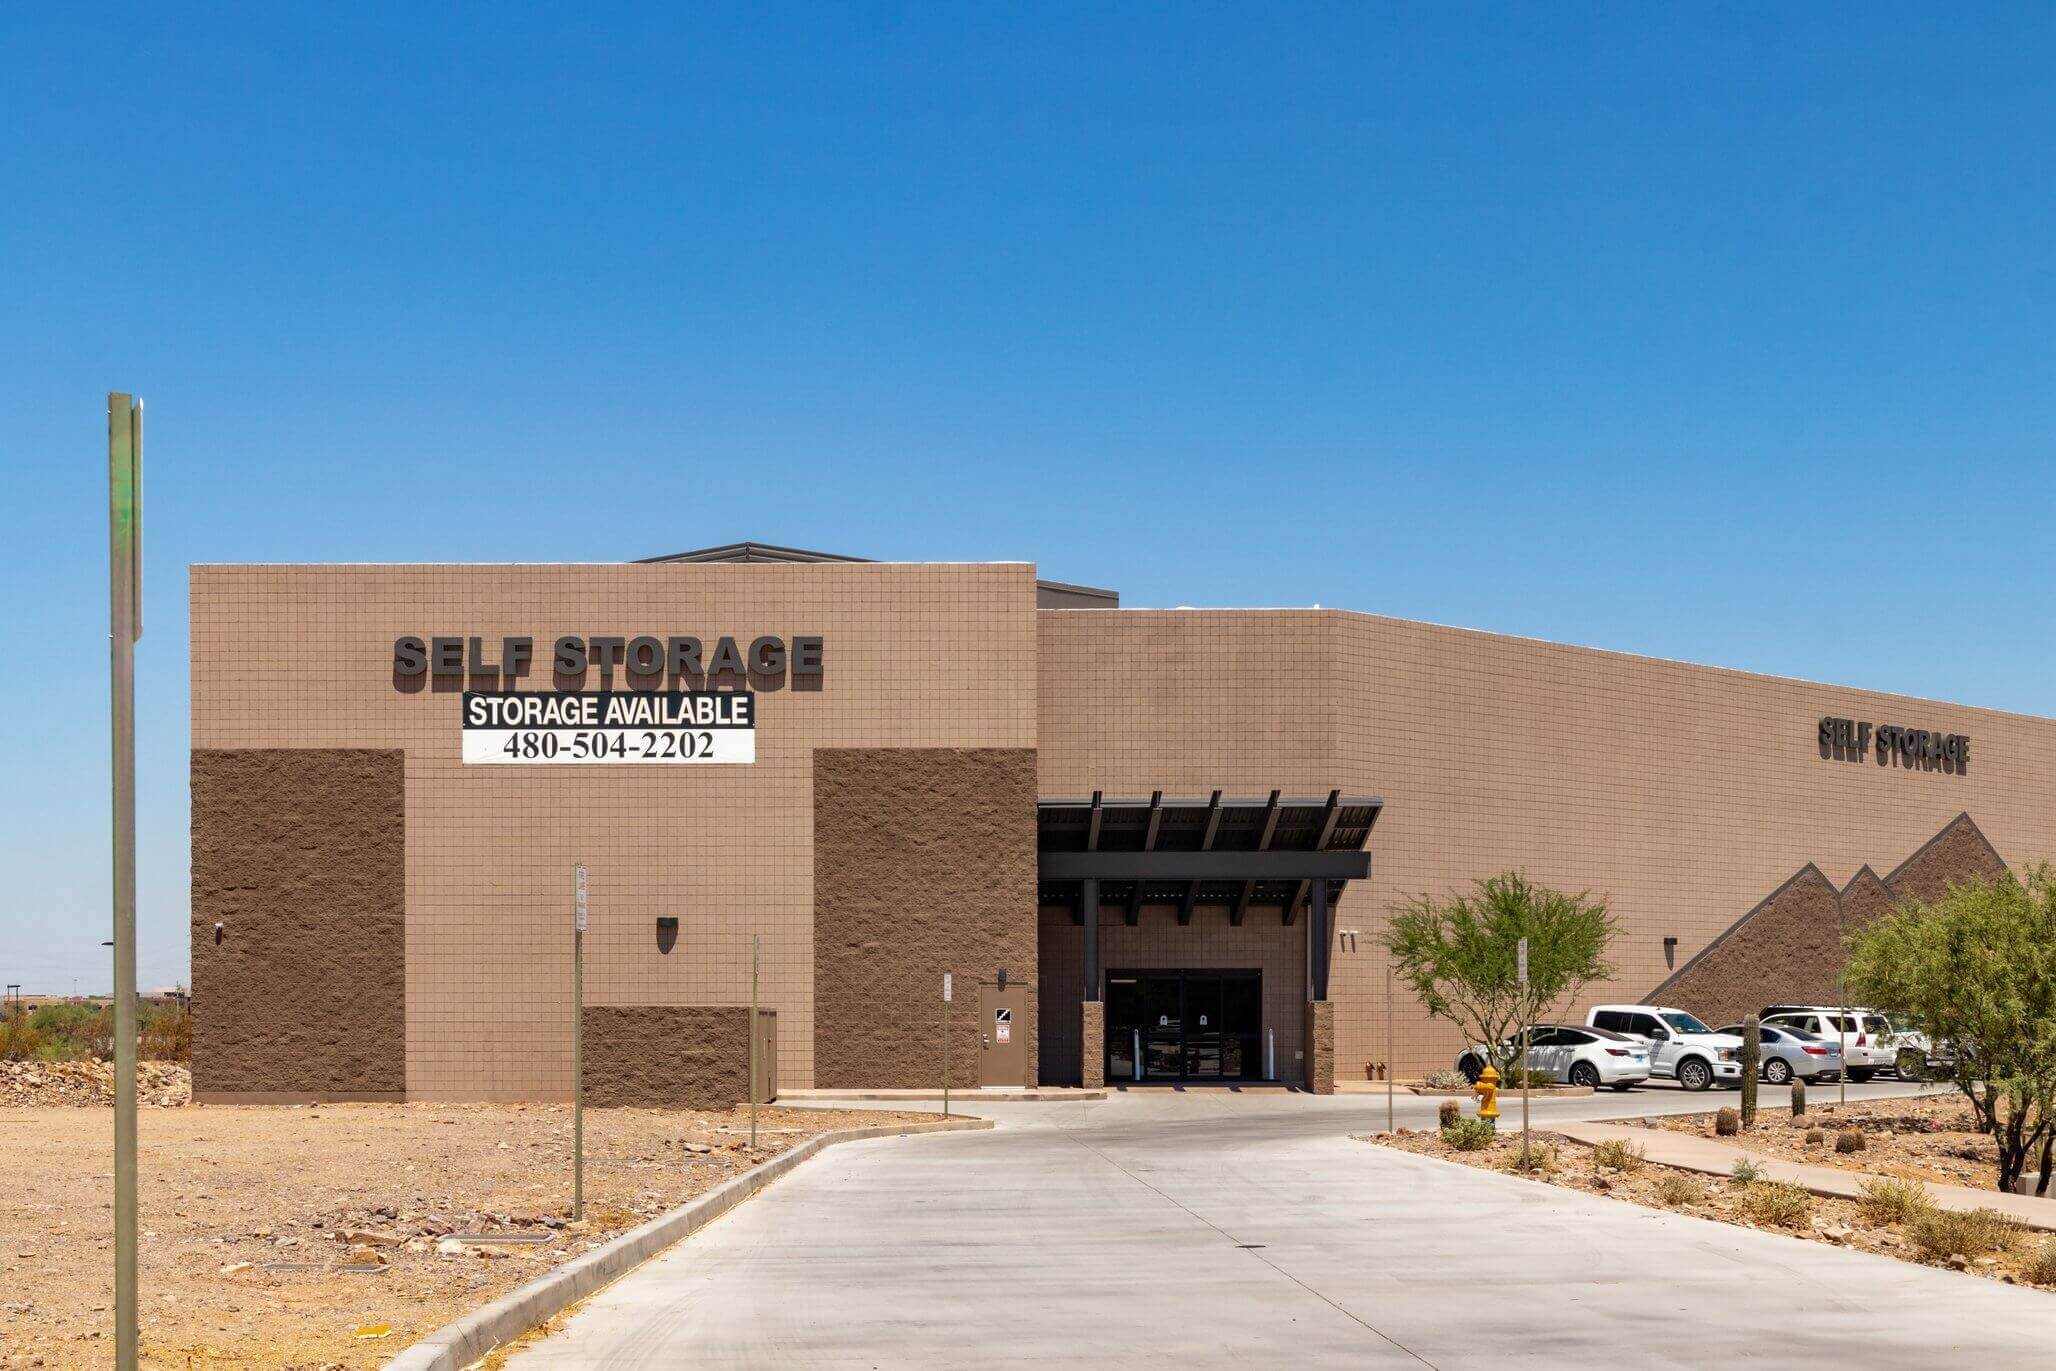
Every unit at McDowell Mountain Community Storage is indoors and air-conditioned, which keeps clubs, bags, and shoes out of the heat that builds up in garages and parked cars. Browse storage units in Scottsdale, or call (602) 899-5484 with questions, including whether we can take a cart battery. The office is open seven days a week.

Frequently Asked Questions

Can you store golf clubs in a garage in Arizona?

You can, but a garage is a weak choice from May through September, when it can get much hotter than the house. An interior closet or an air-conditioned space is a safer place for clubs, grips, and shoes.

Is it OK to leave golf clubs in a hot car?

Occasionally, for a short time, is unlikely to cause trouble. Regularly leaving them in a trunk through a Scottsdale summer is not advised, since heat is hard on grips and on the glue that holds the heads on.

How should you store golf clubs for the summer?

Clean and dry the clubs, bag, and shoes, then store them upright in a cool, indoor space with headcovers on. Avoid garages, sheds, and car trunks.

Should golf clubs be stored in or out of the bag?

Either works if the bag is clean and dry and the clubs have headcovers. Keeping them in the bag is simplest, as long as the bag stands upright and nothing is stacked on top.

Can you store golf cart batteries in a storage unit?

Ask the facility first. Many restrict liquids, flammables, and hazardous materials, and batteries can fall into those categories. If it is not approved, store the battery at home away from heat.

How long can you store golf equipment?

Clubs, bags, and shoes can be stored for many months if they are clean, dry, and kept out of the heat. Check them periodically if they will be stored for the whole off-season.
How to Move Out of a Storage Unit: A Step-by-Step Checklist

Most checklists for how to move out of a storage unit start with giving notice to the facility. That is the easy part, and it takes one phone call. What actually decides whether move-out day takes a couple of hours or eats an entire weekend is the thing those checklists skip: knowing where every item in the unit is going before you pick up the first box.

Things in storage have been out of sight for months, sometimes years. Some of it is headed to a new home. Some of it should be donated or sold. Some of it is trash. And in some cases the better answer is a smaller unit, not an empty one. Settle that first, and the rest of this storage unit move-out checklist is just logistics.

The Short Answer: How to Move Out of a Storage Unit

  1. Decide where each item is going: a new place, donation, sale, or disposal.
  2. Check your rental agreement and give notice with a specific move-out date.
  3. Line up a vehicle, helpers, and supplies sized to the unit.
  4. Empty the unit and keep each pile separate as you go.
  5. Sweep, inspect, and photograph the empty unit.
  6. Remove your lock and close out any gate access.
  7. Tell the office the unit is empty, get confirmation, and check your final bill.

Here is how each step works in practice.

Step 1: Decide Where Everything Is Going

Every move-out ends one of three ways, and each one changes your checklist:

  • Everything moves to a new place: a new home, a new facility, or a relative’s garage. Your main job is transport and timing.
  • You are downsizing: some items leave and a smaller unit keeps the rest. Your main job is sorting.
  • You are clearing the unit out entirely: most of it is donated, sold, or thrown away. Your main job is disposal, and it takes longer than people expect.

Walk the unit with a notepad, or use your move-in inventory if you kept one, and sort every item into four piles: moving with me, donate, sell, and dispose. If a particular item has you stuck, the four-question test in our guide on what to keep, donate, sell, or store settles most of them quickly.

Before you commit to leaving, ask whether you actually need to. If the unit has been overcrowded or mostly empty, a different size may solve the problem. The size guide and space estimator show what fits in each unit, and our post on short-term vs. long-term storage helps if the real question is how long you need the space.

Step 2: Check Your Rental Agreement and Give Notice

Pull out your rental agreement and look for three things: any notice requirement, your billing date, and how the facility confirms a move-out. Rent is typically billed monthly, so the day you finish can affect your last charge. It is much better to know that before you book the truck than after.

Units at McDowell Mountain Community Storage are month-to-month with no long-term commitment, so there is no lease term to wait out. When you tell the office, be specific: give your unit number and the exact date you plan to be finished. You can call (602) 899-5484 or stop by. The office is open Monday through Saturday from 9 a.m. to 6 p.m. and Sunday from 10 a.m. to 4 p.m., and it is closed on select holidays.

Step 3: Line Up Your Vehicle, Help, and Supplies

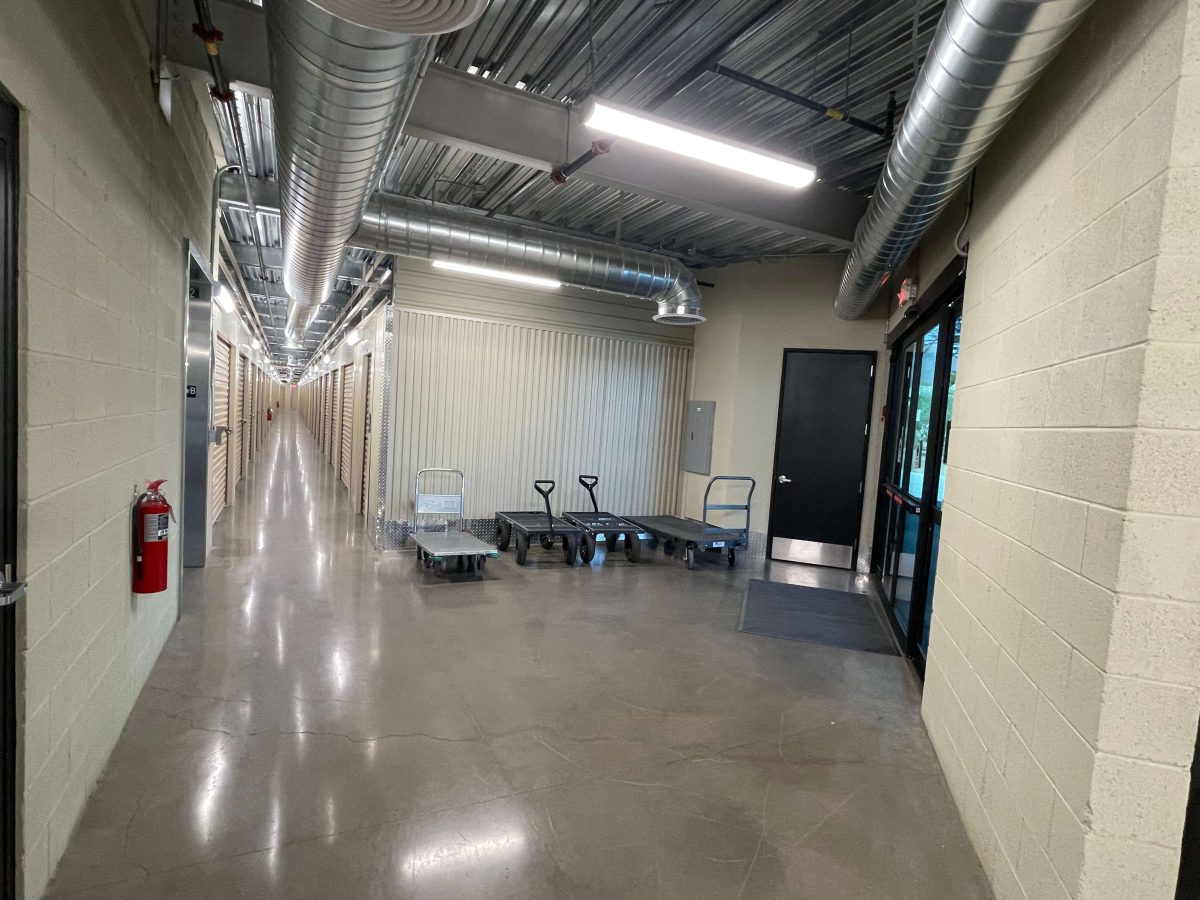
Match the vehicle to the unit. The size guide shows what fits in each size from 5×5 to 10×25, which also tells you roughly how much truck you will need. Bring at least one helper for furniture and appliances, and ask the office what carts or hand trucks are available so you are not guessing on the day.

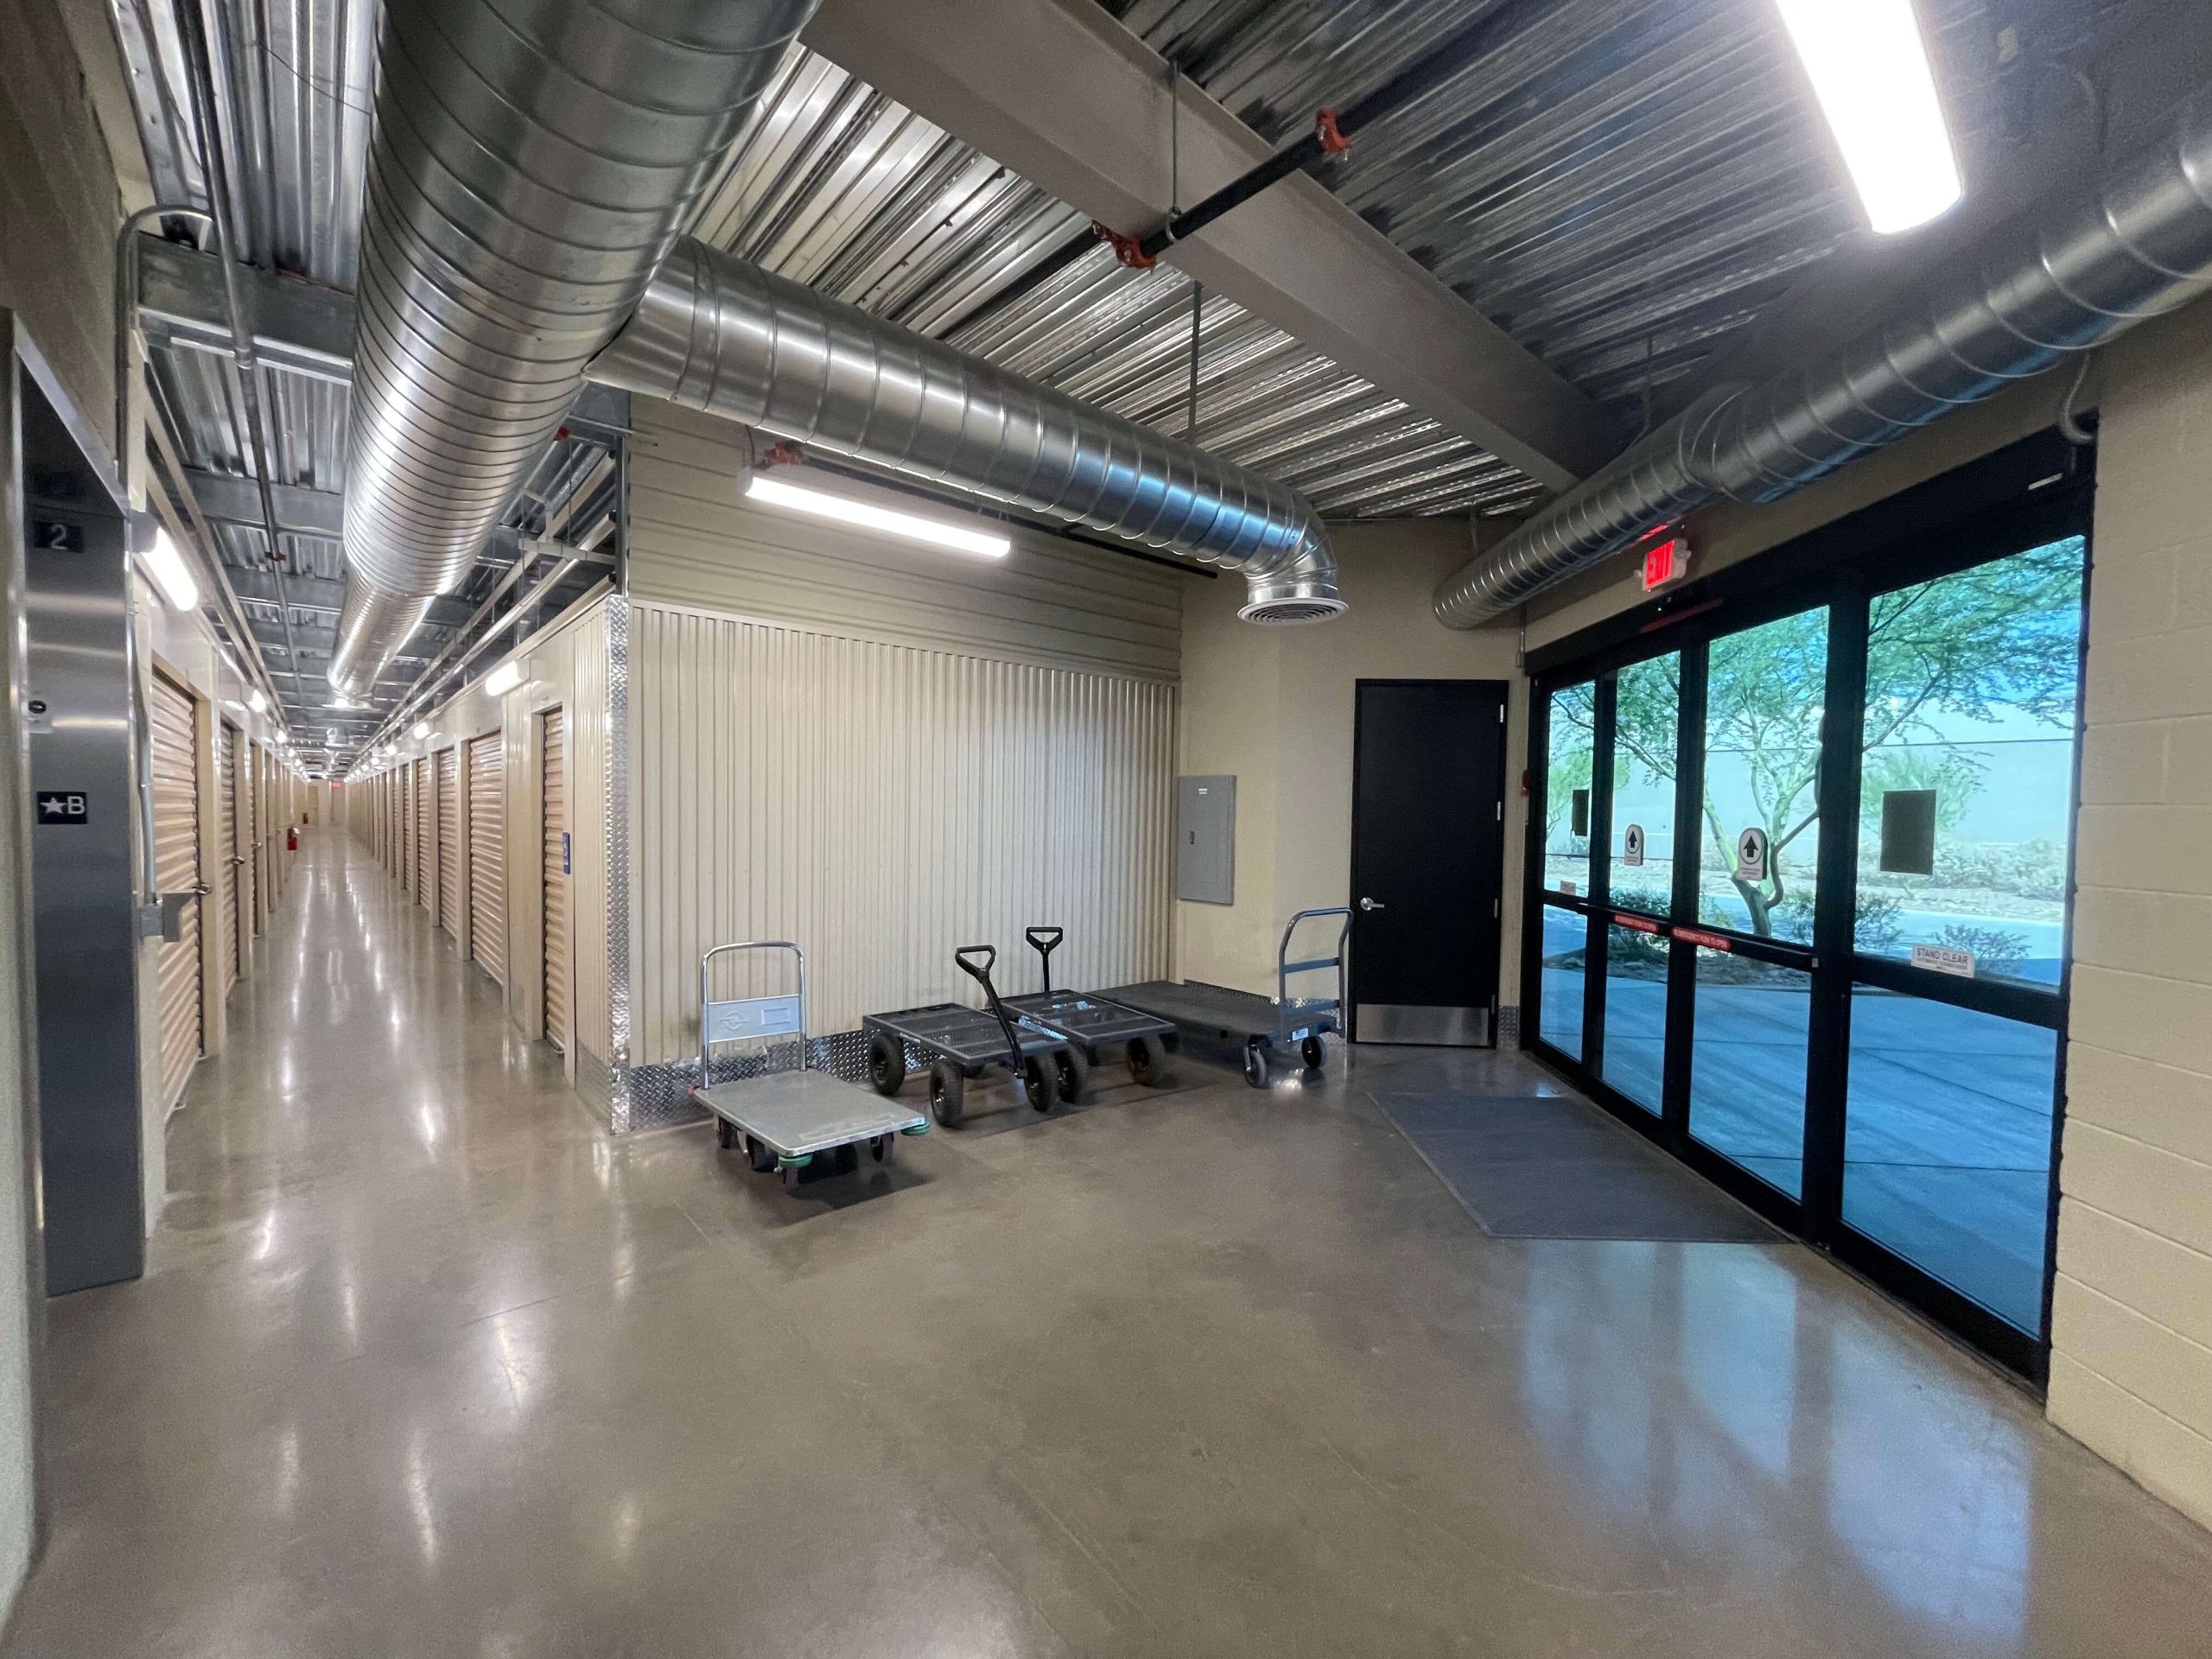
The building works in your favor if you plan around it. Ground-floor units mean less hauling, and if your unit is on an upper floor, the two elevators and multiple loading docks let you move everything without stairs. Moving supplies are available on-site if you run short on boxes, tape, or packing paper.

Timing matters too. Facility access hours run from 5 a.m. to 10 p.m., so plan to finish your last load well before the end of the day instead of racing the clock. In the summer months, start early. Our moving day checklist has a full plan for working around desert heat.

Step 4: Empty the Unit in the Right Order

Think of it as move-in in reverse: what went in last is nearest the door. Clear the front first so you can reach the rest, and stage everything by destination as you go. Keep one area for the truck, one for donations, and one for trash. Mixed piles are how donation boxes end up in the new house, and good furniture ends up at the dump.

  • Load heavy and sturdy items first so they sit at the bottom of the truck.
  • Check inside furniture. Dresser drawers, cabinets, and a washer drum are common places for forgotten items.
  • Look at the top shelves and the back corners. Anything pushed behind furniture on move-in day is still there.
  • If you kept an inventory list, tick items off as they leave the unit.

Step 5: Deal With What Is Not Going With You

This is the step that stretches move-out day, so do as much of it as you can before the day itself.

  • Donate: take donations straight to the drop-off the same day and ask for a receipt. If you plan to claim the donation on your taxes, the IRS explains what records to keep in Publication 526.
  • Sell: give yourself a deadline. If it hasn’t sold by then, donate it.
  • Dispose: do not assume you can leave trash behind. Ask the office before using any facility trash area, and plan a dump run or a junk removal pickup for anything large.

One more category deserves a warning: hazardous items. Our storage tips ask tenants not to store combustibles like paint, solvents, or fuel, but if something got tucked into a box years ago, keep it out of the trash. The EPA’s page on household hazardous waste explains what counts and how to find safe disposal options.

Step 6: Sweep, Inspect, and Photograph the Empty Unit

Leave the unit the way you would want to find it: swept, free of tape and packing debris, with no spills or stains on the floor. Check the corners and the edges along the walls. Then take a few dated photos of the empty unit from the doorway, showing the floor, the walls, and the door. If a question about the unit’s condition ever comes up, those photos settle it in seconds.

Tips for Moving Out of a Storage Unit

Step 7: Remove Your Lock and Close Out Access

Take your lock with you. Leaving a lock on an empty unit leaves the office unsure whether you are finished, and it can delay closing your account. Check the latch and door once more after the lock is off.

If you shared your gate code or gave anyone access to the unit, such as movers, a contractor, or a family member, mention it to the office when you confirm your move-out so everything is closed out cleanly. Our post on how to keep your storage unit secure explains why leftover access is one of the most overlooked storage risks.

Step 8: Confirm Your Move-Out and Check Your Final Bill

Do not assume you are done when the truck pulls away. Tell the office the unit is empty, ask for confirmation that your move-out is complete, and keep that confirmation with your records. Because the office closes at 6 p.m. Monday through Saturday and 4 p.m. on Sunday, plan to check in before then.

Then review your final statement. If you pay through the online bill pay system, confirm that no further payments are scheduled so you are not charged for a unit you no longer have.

Mistakes That Cost People Time or Money on Move-Out Day

  • Never deciding what is going where. It leaves a pile of “maybe” items and nowhere to put them.
  • Skipping the rental agreement. Notice and billing dates can change when you should finish.
  • Leaving the lock on the door. It delays closing the account and creates an extra trip.
  • Forgetting items inside furniture or on top shelves. Check drawers, cabinets, and appliances before you call it done.
  • Starting late in the day. Access hours end at 10 p.m., and a half-loaded truck at closing time is a bad plan.
  • Skipping the confirmation. Without it, you cannot be sure the rental actually closed.

Frequently Asked Questions

How much notice do I need to give to move out of a storage unit?

It depends on your rental agreement, so check it before you choose a date. McDowell Mountain Community Storage units are month-to-month, so there is no long-term term to wait out. Call the office at (602) 899-5484 to confirm the notice for your unit and the date you plan to finish.

Do I have to clean my storage unit before I move out?

Plan on it. Sweep the floor, remove tape and packing debris, and clean up any spills. A swept, empty unit avoids questions later, and dated photos give you a record of its condition.

Can I move out of a storage unit in one day?

Often, yes, especially with a small unit and a clear plan for where everything is going. Larger units, or moves that involve donation runs and disposal trips, usually take longer. Facility access hours run from 5 a.m. to 10 p.m., so start early and leave yourself margin.

What happens if I leave items behind?

Leaving belongings in a unit generally means the rental is not finished, and it may lead to additional charges. Check your rental agreement, and if you realize you forgot something after you leave, contact the office right away.

Will I get a refund if I move out in the middle of the month?

Rent is typically billed monthly, so whether any unused time is credited depends on your rental agreement. Ask the office about final-month billing before you set your move-out date, ideally before your next billing date.

Do I need to take my lock with me?

Yes. A lock left on the door keeps the unit closed to the office and can delay closing your account. Remove it once the unit is empty.

Need a Different Size Instead of an Empty Unit?

If you are moving out because the unit no longer fits your needs, you may not have to leave at all. McDowell Mountain Community Storage offers fully indoor, climate-controlled storage units in Scottsdale from 5×5 to 10×25, so moving up or down a size is a conversation with the office, not a whole new search. Call (602) 899-5484 or contact us, and we will help you find the right fit or walk you through the move-out.

How to Prepare for Moving Day: Complete Checklist

Every moving day checklist assumes the same thing: you wake up, load a truck, drive to a new address, and unload by evening. For a lot of moves, that’s exactly how it goes. For a lot of others, especially in the Valley, it isn’t. Closing dates don’t line up, a lease ends before the new place is ready, or a renovation pushes the move-in date back a month. The checklist you’ll find almost everywhere doesn’t account for that gap, and it doesn’t account for what a Scottsdale summer does to a moving timeline either.

This is a complete checklist covering everything the standard guides cover, and it’s built around two things most of them skip: what to do when your move-out and move-in dates don’t match, and how to plan a moving day around desert heat instead of pretending it isn’t a factor.

Moving Day Checklists Assume a Clean Handoff, and That’s Not Always How It Works

The generic version of this checklist treats moving day as one continuous event: out of the old place and into the new one, same day, done. In practice, a meaningful share of moves have a gap in the middle, sometimes a day, sometimes weeks. If your plan only covers the “load and unload same day” scenario, you’ll be scrambling the moment your timeline doesn’t cooperate.

The other thing most checklists ignore is timing around heat. A moving day plan built for a mild climate doesn’t hold up when the forecast says 108 degrees, and treating an Arizona moving day exactly like one in a cooler region is how boxes, electronics, and movers all end up worse off than they needed to.

Two Weeks Before Moving Day

  • Confirm your moving date and time window with your moving company or truck rental in writing, and ask specifically about their policy for extreme heat, since some companies adjust loading schedules during summer.
  • File your change of address through the official USPS change of address page so mail forwarding is active by your move date rather than started as an afterthought.
  • Transfer or schedule disconnect and connect dates for utilities: electricity, water, internet, and gas at both addresses.
  • Start using up perishable food and cleaning supplies you don’t want to move.
  • Order any moving supplies you’re missing, boxes, tape, furniture blankets, so you’re not making a last-minute run the week of the move.

The Week Before

  • Finish packing everything except what you’ll use in the final 48 hours. Rooms should be fully boxed except the kitchen and bathroom essentials.
  • Label every box on two sides, not just the top, with its destination room and a general contents note. A label on top becomes useless the moment you stack another box on it.
  • Disassemble large furniture you can safely take apart yourself, and bag the hardware, taped directly to the piece it belongs to, so nothing goes missing between here and reassembly.
  • Pack an essentials box for each family member: medications, chargers, a change of clothes, basic toiletries, and any documents you’ll need in the first 24 hours.
  • Confirm parking or loading access at both addresses, especially if either is an apartment, gated community, or has HOA rules about moving trucks.

The Night Before

  • Charge phones, cameras, and any battery-powered tools you’ll use on moving day.
  • Set aside cash for tipping movers, if you’re using a moving company, and confirm the pickup time one more time.
  • Freeze a few water bottles if you’re moving in warm weather; they’ll thaw through the day and keep drinks cold longer than ice alone.
  • Do a final sweep of closets, cabinets, and drawers, the places that get missed when a room otherwise looks packed and ready.
  • Set out the essentials boxes somewhere they won’t get loaded onto the truck by mistake.

Moving Day, Hour by Hour

This is where a Scottsdale move genuinely needs a different plan than the generic checklist. If your move falls between May and September, start as early as your movers or building will allow, ideally loading before 9 a.m. and aiming to have the truck unloaded before the afternoon heat peaks. The Occupational Safety and Health Administration’s heat illness prevention guidance recommends water, shade, and rest breaks for anyone doing physical work in high heat, and that applies just as much to a DIY move as it does to a job site.

  • Load heavy and sturdy items first, appliances, dressers, boxed books, so they sit at the bottom and back of the truck, with lighter, more fragile items loaded last and closer to the door.
  • Keep a cooler with water and snacks accessible near the truck, not packed away, for yourself and anyone helping.
  • If any part of the load will sit in a closed truck or trailer in direct sun for more than an hour, keep electronics, candles, vinyl records, and anything wax or adhesive-based toward the middle of the load, away from the metal walls that heat up fastest.
  • Do a walkthrough of the old address once the truck is loaded: every closet, cabinet, attic space, and the garage.
  • Take final utility meter readings if that’s part of your move-out agreement, and drop off keys or garage remotes as required.

When Move-Out and Move-In Don’t Line Up

If there’s any gap between leaving your old place and getting into the new one, even a few days, that gap needs its own plan rather than being figured out on the fly. A few common versions of this: a home sale closes before the new house does, a lease ends mid-month while the new lease starts on the first, or a renovation delays move-in by weeks.

In that situation, most of what you own doesn’t need to travel twice, it needs somewhere secure to sit for however long the gap lasts. A climate-controlled unit handles that better than a garage, a POD sitting in a driveway through a Scottsdale summer, or a spare room at a relative’s house, particularly for anything heat-sensitive: electronics, wood furniture, documents, and photographs. If you’re weighing what actually needs that level of protection versus what can sit in standard conditions, our guide on how to prepare your belongings for storage breaks that down by what actually damages items in storage rather than treating everything the same way.

This is also where sizing matters more than people expect. Guessing too small means a second trip or items left out in the heat; guessing too large means paying for space you don’t need. If you’re not sure what you’ll need to fit, the space estimator gives a realistic estimate before moving day, not after. When the gap is the actual problem, storage units in Scottsdale are the practical bridge between the two dates, sized for anything from a few boxes to a full household load.

Moving Day Checklist

The Final Walkthrough, Both Homes

Before you leave the old address for the last time, walk through with your moving-day checklist in hand rather than from memory: check every closet, the attic access, behind doors, under sinks, and the garage. At the new place, do the same thing once the truck is unloaded, confirming nothing got left behind in the truck’s corners or under moving blankets before the truck pulls away.

Mistakes We See Most Often on Moving Day

  • Scheduling a summer move for midday instead of early morning, which turns a manageable day into a heat-exhaustion risk for anyone doing the lifting.
  • Packing the essentials box last and burying it on the truck, which means digging through everything else to find a phone charger on night one.
  • Leaving temperature-sensitive items, electronics, candles, records, in a hot truck or garage for days after the move instead of unpacking or moving them to a climate-controlled space promptly.
  • Not confirming parking or loading dock access in advance, which can turn a scheduled two-hour load into a much longer one.
  • Assuming the gap between homes will “probably be fine” without a real plan for where belongings go in the meantime.

Frequently Asked Questions

How far in advance should I start preparing for moving day?
Start serious preparation 2 to 3 weeks out: file your change of address, schedule utility transfers, and get most of your packing done. The final week should be about finishing details, not starting from scratch.

What should be in a moving day essentials box?
Medications, phone chargers, a change of clothes per person, basic toiletries, important documents, and anything you’d need if unpacking took longer than expected. Keep it separate from the general load so it isn’t buried on the truck.

Is it better to move in the morning or afternoon in Scottsdale?
Morning, especially between May and September. Loading and unloading before the afternoon heat peaks is safer for anyone doing physical labor and better for anything temperature-sensitive sitting in the truck.

What if my new home isn’t ready on my move-out date?
Plan for the gap deliberately rather than improvising. A short-term, climate-controlled storage unit is usually a better option than a garage or outdoor pod, especially for electronics, wood furniture, and documents that don’t hold up well in extreme heat.

Do movers expect a tip?
Tipping isn’t required but is customary for professional movers, typically based on the size and difficulty of the job. Setting cash aside the night before avoids a last-minute scramble on moving day itself.

If Your Timeline Needs a Bridge

Most of this checklist works the same whether your move is a single clean day or spread across a few weeks. The difference is having a real plan for the gap instead of hoping it works itself out. McDowell Mountain Community Storage offers fully indoor, climate-controlled storage units in Scottsdale sized from a few boxes to a full household, so whatever’s between your old address and your new one has somewhere secure to sit until you’re ready for it.

What to Keep, Donate, Sell, or Store When Decluttering

Most decluttering guides really only give you three options: keep it, donate it, or sell it. Storage gets mentioned as an afterthought, usually treated as just another way of saying “keep.” That’s a mistake, and it’s one we notice constantly from the storage side of this conversation, because storing something for the right reason and storing something because you couldn’t decide look identical on move-in day. Only one of them actually helps.

This guide treats all four as genuinely separate decisions, with their own test for each, including an honest look at when storage is the right call and when it’s just delaying a decision you’ll still have to make eventually.

The Four-Question Test That Sorts Almost Anything

Instead of staring at an object and guessing, run it through these questions in order and stop at the first “yes”:

  • Do I actually use this regularly? If yes, keep it.
  • Would it sell for enough to be worth the time? If yes, sell it.
  • Is it in good enough condition for someone else to use, and would they benefit more from it than I currently am? If yes, donate it.
  • Will I genuinely need this again, just not right now? If yes, store it.

If the honest answer is no to all four, it’s trash or recycling, not a fifth pile to figure out later. The order matters here: working through keep, then sell, then donate, then store, before landing on toss, keeps you from defaulting to “I’ll just store it” the moment a decision gets uncomfortable, which is exactly the trap covered further down.

Keep: What Actually Earns a Permanent Spot

“Keep” should be reserved for things doing active work in your life right now: daily-use kitchen tools, clothes you actually wear, furniture your current home is built around. If an item hasn’t been touched in a year and isn’t tied to a specific upcoming use, it’s worth pushing it through the rest of the test rather than defaulting to keep out of habit.

Sell: When the Time Investment Is Worth It

Selling makes sense when an item’s resale value clears a reasonable bar for the time it’ll take to list, answer messages, and hand it off. Furniture, electronics, and tools in good condition are usually worth the effort. A chipped picture frame or a five-year-old phone charger almost never is. If you’re on the fence, give yourself a real deadline, list it for a set window, and donate it if it hasn’t sold by then, rather than letting a “maybe I’ll sell this” item sit in a box for months.

Donate: Doing It Right

Donation works best for items in genuinely usable condition. If you’re planning to claim it as a tax deduction, it’s worth knowing that the IRS’s guidance on charitable contributions generally requires clothing and household goods to be in good used condition or better to qualify, with additional documentation required above certain values. Beyond the tax piece, donating promptly, rather than letting a bag sit in the garage for weeks, is what actually gets the clutter out of the house instead of just relocating it internally.

Store: The Category Everyone Gets Wrong

Storage is the right answer for a specific, narrow set of situations: seasonal items you’ll definitely use again, furniture for a room or home that isn’t ready yet, sentimental pieces you genuinely need more time to decide on, or belongings caught in the gap between a move-out and a move-in date. In those cases, storage isn’t a delay, it’s a legitimate holding pattern with a clear reason attached.

Where it goes wrong is when “store it” becomes the answer to every item you didn’t want to make a call on. We’ve seen units filled with boxes that were never really “for later,” they were just “not right now, and I didn’t want to decide.” If you’re not sure which one applies to something, ask yourself whether you could name, right now, what circumstance would bring it back out of storage. If you can’t answer that, it probably belongs in one of the other three piles instead.

The Trap: Using Storage as a Decision-Delay Tax

Here’s the part a storage company doesn’t usually say out loud, but it’s true, and it’s worth hearing directly: storage isn’t free, and using it to avoid a decision has a real cost attached, in monthly rent for space holding something you’ll likely never retrieve. That’s not an argument against storage; it’s an argument for being honest with yourself about which of the four categories something actually belongs in before it goes into a unit. If you’re storing between moves or during a renovation, that’s a legitimate, time-limited reason. If you’re storing because sorting through it felt hard three months ago and still does, that’s worth revisiting. Our guide on how often you should declutter your home is a useful companion to this one if that sounds familiar.

What Should You Keep, Donate, Sell, or Put in Storage When Decluttering?

A Few Examples Across Common Categories

  • Kitchen duplicates: six mismatched mugs you never reach for are a donate. A stand mixer you use twice a year for holiday baking is a legitimate store, since the “when will I use this again” question has a clear answer.
  • Clothing: anything unworn in over a year, in good condition, is a straightforward donate. Maternity clothes for a pregnancy that hasn’t happened yet, or clearly outgrown by the time it would matter, is a harder call worth being honest about.
  • Seasonal and holiday items: a classic, legitimate store category, since the “when will this come back out” answer is simply “next season.”
  • Sentimental boxes: genuinely fine to store short-term while you decide, as long as you’re actually planning to revisit it rather than letting the box become permanent.

If Storage Is the Right Answer for You Right Now

Once you’ve actually sorted, rather than boxed everything up out of habit, sizing a storage unit gets much easier, since you’re working from what’s really staying instead of an inflated pre-decluttering guess. Our storage unit size guide can help you land on the right size for what’s left, and our packing and storage tips cover how to pack it once you know what’s going in. If you’re also weighing timing, our post on the best time to rent a storage unit is worth a look too.

Frequently Asked Questions

What’s the difference between keeping something and storing it?
Keeping means an item is actively part of your daily life right now. Storing means you genuinely expect to use it again, just not currently, with a specific reason you could name if asked.

How do I decide whether to sell or donate something?
Weigh the resale value against the time it’ll take to list and sell it. Higher-value items in good condition are usually worth selling; lower-value or harder-to-sell items are often better donated promptly rather than left sitting while you wait for a buyer.

What items shouldn’t go into storage?
Perishable food, hazardous materials, and flammable items generally shouldn’t be placed in a storage unit. For anything like old paint, solvents, or batteries you’re getting rid of entirely, the EPA’s household hazardous waste guidance covers safer disposal options.

Is it okay to put things in storage if I’m not sure yet?
Yes, within reason, especially during a move, renovation, or a genuinely difficult sentimental decision. The key is knowing why something’s in storage, rather than using the unit to avoid deciding indefinitely.

How do I stop a “maybe” pile from taking over my decluttering project?
Set a hard limit, like one box, and revisit it at the end of your sorting session using the same four-question test as everything else. If you can’t answer why you’d keep, sell, donate, or store a specific item, it’s usually a sign to toss it.

Sort First, Store With Purpose

Keep what earns its place, sell or donate what doesn’t, and store only what you can name a real reason for. When storage genuinely is the right call, McDowell Mountain Community Storage offers storage units in Scottsdale sized for exactly what you’ve decided is worth keeping, not what you haven’t sorted through yet.

How to Pack Lamps for Moving

Search “how to pack lamps for moving,” and you’ll get the same five steps from every result: remove the bulb, wrap the base, box the shade separately, pack the harp and finial in a bag. That advice isn’t wrong. It’s also incomplete for anyone moving in the Valley, because none of those guides account for what happens when a fully loaded moving truck sits in a Scottsdale driveway for a few hours in July.

This guide covers the packing basics, but the real point of it is the part almost everyone skips: how a lamp actually fails, and why desert heat is a bigger threat to lamps than it is to almost anything else you’re moving that day.

Why Lamps Break Differently Than Almost Everything Else You Pack

Most moving guides treat a lamp as one object. It isn’t. A lamp is really three separate things bolted together, and each one fails in its own way:

  • The base, which might be glass, ceramic, resin, marble, or turned wood, each with its own breaking point and its own sensitivity to impact, humidity, or heat.
  • The shade, which is usually a wire frame wrapped in fabric, paper, or a laminated shell, and which crushes or dents rather than shatters.
  • The hardware: the harp, the finial, the socket, and the cord, which are small enough to get lost and, in older lamps, brittle enough to crack.

Packing a lamp well means treating each of those three problems separately instead of wrapping the whole thing in one blanket and hoping for the best.

The Desert Problem Most Packing Guides Never Mention

Here’s what almost never comes up in a national moving guide written for a mild climate: what heat does to a lamp sitting in a closed vehicle. The National Highway Traffic Safety Administration has documented how quickly a closed vehicle’s interior temperature climbs in direct sun, reaching dangerous levels in as little as ten minutes on a hot day. A moving truck or trailer sitting on Scottsdale asphalt in the summer behaves the same way, and it’s easy to underestimate what that means for a lamp specifically:

  • Wax, resin, and some painted or lacquered finishes can soften, discolor, or develop a tacky surface after hours in that kind of heat.
  • Shade adhesive and trim glue, especially on older or vintage shades, can loosen enough that trim starts to peel once the shade cools back down.
  • Cord insulation that’s already a little brittle from age can crack faster after a heat cycle like that, which is exactly the kind of damage the Consumer Product Safety Commission’s home electrical safety checklist specifically tells you to check lamp cords for before plugging them back in.

None of this means you need to panic about a quick trip across town. It does mean that if your move involves any real time in a hot truck, a trailer, or a driveway, lamps deserve to travel somewhere shaded, or in the front of the load where they’re not sitting against a hot metal wall, rather than being treated like just another box.

Step 1: Handle the Base Like What It Actually Is

Wrap glass, ceramic, or marble bases in packing paper first, then bubble wrap, securing the wrap without taping directly to any painted or finished surface, since tape can pull paint or lift a glaze when it’s removed later. Wood and metal bases are more forgiving but still deserve a layer of padding against scratches and chips in transit. If the lamp has a heavy marble or stone base, pack it upright in a snug box rather than lying it on its side, where the weight of the base can stress the neck where it meets the body.

Step 2: Protect the Shade Without Crushing It

Never wrap a fabric or paper shade directly in bubble wrap. The plastic can leave permanent ring marks on the material, especially in heat, and it doesn’t actually protect the shade’s shape. Instead, stuff the inside of the shade loosely with packing paper to help it hold its form, then place it in a box sized close to the shade itself; a box that’s too large lets the shade shift and crush during transit. If you kept the shade’s original box, it’s still the best-fitting option.

Step 3: Don’t Let the Small Parts Disappear

Harps, finials, and any decorative trim pieces are easy to lose in a move, and they’re often harder to replace than the lamp itself. Place them in a small zip-top bag, taped directly to the base or the base’s box, so they travel with the lamp rather than in a junk drawer box labeled “misc.”

Step 4: Load and Label So Nothing Gets Crushed Later

Mark shade boxes clearly as fragile on more than one side, and load them last or on top, never underneath anything else. Lamp base boxes can generally handle being lower in a stack, but avoid placing anything heavy directly on top of them regardless. If you’re loading a truck yourself, keep lamps toward the middle of the load, away from the metal walls that heat up fastest in direct sun.

How to Pack Lamps for a Move

If You’re Storing Lamps Rather Than Moving Straight Through

Plenty of moves involve a gap between packing day and move-in day, and that’s where storage conditions start to matter as much as the packing job itself. A unit that isn’t climate-controlled goes through the same heat swings as a parked truck, day after day, for as long as your items sit there. If your move includes any stretch of storage time, it’s worth reviewing our broader packing and storage tips and, if you’re not sure what size unit actually fits your load, our storage unit size guide before you commit to a space.

Mistakes We See Most Often at Move-In

  • Nesting shades inside each other with no paper between them, which usually means at least one arrives dented.
  • Leaving bulbs in the socket during transport, which risks breakage and, on the off chance the lamp gets plugged in accidentally, a shattered bulb.
  • Taping bubble wrap directly to a shade or a finished base, which can strip paint, glaze, or fabric backing when the tape comes off later.
  • Assuming a lamp that survived the move is fine to plug in immediately, without a quick check of the cord for cracks after any time in extreme heat.

Frequently Asked Questions

Should I remove the lightbulb before packing a lamp?
Yes. Always remove bulbs before packing a lamp to prevent breakage and avoid any risk if the lamp is accidentally plugged in during the move.

What’s the best box size for a lamp shade?
A box that closely matches the shade’s dimensions works best. Too much extra space lets the shade shift and get crushed under its own box flaps or anything stacked nearby.

Can I pack a lamp shade in the same box as the base?
It’s better not to. The shade and base have different fragility profiles, and combining them in one box usually means padding one at the expense of the other.

Is it safe to store lamps in a non-climate-controlled unit in Scottsdale?
It depends on the lamp. Delicate finishes, vintage shades, and older wiring hold up noticeably better in a climate-controlled space, especially through a Scottsdale summer, where uncontrolled units go through the same daily heat swings as a parked vehicle.

How do I pack an antique or vintage lamp?
Treat it more conservatively than a newer lamp: extra padding, a snug box, and climate-controlled storage or transport if there’s going to be any delay, since older glazes, adhesives, and cord insulation tend to be more heat- and impact-sensitive.

Get the Rest of Your Move Sorted

Lamps are a small part of any move, but they’re a good example of why “wrap it and hope” doesn’t hold up in a place like Scottsdale. If your move includes a gap before you’re back in a permanent space, McDowell Mountain Community Storage offers storage units in Scottsdale with indoor, climate-controlled units built for exactly this kind of desert heat, so your lamps and everything else are still in good shape when you’re ready to unpack.

How Often Should You Declutter Your Home?

Most decluttering advice gives you a schedule: declutter seasonally, declutter twice a year, do a room-by-room sweep every spring. The schedule is not wrong. It is just incomplete, because it treats every home, every household, and every type of clutter the same way. A retired couple in a two-bedroom condo accumulates clutter differently than a family of five with two school-age kids. A kitchen declutters faster than a garage. A household that tends to hold on to things needs a different cadence than one that regularly rotates what it keeps.

The honest answer to how often you should declutter is: it depends on the area, the household, and how you define the work. A framework that matches the cadence to the actual clutter pattern in your home will hold up longer and require less effort than a fixed calendar that doesn’t account for that.

Here is how to build that framework, and what a realistic maintenance schedule actually looks like when it is matched to how clutter behaves rather than how a calendar works.

Why a Fixed Schedule Is the Wrong Starting Point

The reason most decluttering schedules fail is not that people are not disciplined enough to follow them. It is that the schedule was built around the idea of decluttering as an event, something you do once, thoroughly, and then maintain. That model works well for about two months and then breaks down when life accelerates, and the maintenance sessions get skipped.

Clutter is not an event. It is a continuous process. Things come into the home constantly: purchases, gifts, mail, kids’ school papers, items borrowed and never returned, and products replaced without removing the old version. The rate at which things come in varies by area and by household. Matching the decluttering cadence to the inflow rate in each specific area produces a lighter, more sustainable maintenance burden than treating the whole house as a single unit on a fixed schedule.

Research on household behavior and the psychological effects of clutter, including work published in personality and social psychology journals, consistently finds that clutter accumulation is associated with higher cortisol levels and reduced cognitive function at home. The implication is that the cost of deferred decluttering is not just aesthetic; it affects how people feel and function in their space. A lighter, more frequent approach tends to produce better outcomes than an intensive annual sweep.

The Three Cadences: Daily, Seasonal, and Life-Event

Rather than a single schedule, most households benefit from three overlapping cadences, each matched to a different type of clutter and a different rate of accumulation.

Daily and Weekly: Surface Clutter and High-Turnover Areas

Some areas of the home accumulate clutter so quickly that a seasonal or annual pass is useless. The kitchen counter, the entryway table, the dining table surface, and the bathroom countertops are all high-turnover areas where daily or weekly attention is the appropriate cadence, not because you need to do a deep organization session weekly, but because five minutes of resetting these surfaces keeps them from becoming the staging area for everything else.

Mail is the clearest example. A household that lets mail sit for a month will end up with a pile that takes an hour to sort. A household that processes mail three times a week will never have a pile. The time investment is identical across a month; the psychological weight is completely different.

Weekly pass areas: kitchen counters and surfaces, bathroom countertops, entryway and landing zones, dining table. These do not require decision-making about what to keep; they require only returning things to where they belong and discarding what has accumulated.

Seasonal: Areas That Shift With the Calendar

A true seasonal declutter, done two to four times per year, is appropriate for areas where the contents change with the seasons or accumulate at a moderate rate. Clothing is the canonical example: a twice-yearly clothing review, timed to the change of seasons, is a natural fit because what belongs in accessible storage shifts with the weather.

In Scottsdale, the seasonal logic runs a little differently than in most of the country. The shift from cooler winter months to the long hot season is the primary transition, and it is as good a trigger as any for a clothing, outdoor furniture, and seasonal equipment review. The shorter, cooler period is also when people use outdoor spaces more actively, which tends to bring out equipment and gear that has been sitting unused.

Seasonal pass areas: clothing and closets, outdoor furniture and equipment, holiday decorations, garage, pantry and food storage.

Life-Event: The Big Transitions

Some of the most significant decluttering opportunities are tied to life events rather than calendar cadences: a move, a new baby, a child leaving for college, a divorce, a death in the family, a major renovation, or a retirement. These transitions naturally surface items that no longer belong in the household’s next chapter, and they represent moments when motivation and the need for decluttering converge in a way that doesn’t happen on a fixed schedule.

The households that navigate these transitions most smoothly are the ones that treat the decluttering as part of the transition planning rather than as an afterthought. A move that involves a thorough pre-move declutter costs less in moving expenses and produces a cleaner start at the destination. A renovation that includes a pre-renovation clear-out protects items from construction damage and surfaces things buried under the project area.

How Often Should You Organize Your Home?

How to Identify Your Actual Clutter Patterns

Before setting any schedule, it is worth spending one week observing where clutter actually accumulates in your home rather than where you think it does. The answer is often different from the assumption.

Walk through your home at the end of each day for one week and note: which surfaces have new items on them that were not there in the morning, which areas feel visually heavier than they did a week ago, and which spaces you avoid because dealing with them feels overwhelming. Those observations tell you where your high-frequency attention should go and which areas are building toward a larger session.

Common patterns that households discover during this exercise:

  • The guest room or spare bedroom has become a default storage area for items without a home, which means it is not a once-a-year problem but a continuous intake problem that needs a different solution
  • The garage accumulates at a rate that requires a dedicated quarterly session rather than an annual one
  • The kitchen is well-managed at the surface level, but the pantry and the cabinet below the sink have not been cleared in years
  • Children’s items, especially books, clothes, and toys, cycle through faster than adult items and need their own cadence that aligns with developmental transitions rather than calendar seasons

What to Do With Items You Are Not Ready to Discard

One of the practical reasons people stall in decluttering is that the decision between “keep” and “discard” is genuinely hard for certain categories of items. Sentimental items, things that might be useful someday, items belonging to children who have moved out, family heirlooms that nobody wants but nobody wants to get rid of: these categories create decision paralysis that stops a declutter session in its tracks.

A staging strategy handles these without forcing a premature decision. Items that are not being used but are not ready to be discarded can be moved to an intermediate location, typically a clearly labeled storage area, with a review date attached. If the item hasn’t been accessed or considered by the review date, the decision to let it go becomes much easier.

For households where the volume of “not ready to decide” items exceeds what the home’s storage can hold, external storage is a practical bridge. McDowell Mountain Community Storage in Scottsdale provides climate-controlled indoor storage for exactly this kind of transition period: items that are leaving the active living space but are not yet ready to leave the household permanently. Our Scottsdale storage units range from small 5×5 units for a few boxes of sentimental items to larger units for furniture and full room contents during a renovation or life transition.

A Realistic Decluttering Calendar for a Scottsdale Household

Based on the above framework, a realistic annual cadence for a typical Scottsdale household looks like this:

Weekly (5 to 10 minutes): Reset high-traffic surfaces, process mail and paper, clear entryway landing zones.

Monthly (30 to 60 minutes): One area or category review, rotating through: bathroom cabinets, pantry, one closet, junk drawer, car interior.

Seasonally, twice per year (half day): Clothing and closet rotation timed to the cool-season shift and the return of summer heat; garage and outdoor equipment review; holiday decoration audit when decorations come down.

Annually (full day or spread over a weekend): A full pass through the areas that accumulate slowly but significantly: books, children’s items, hobby supplies, tools, sentimental items, digital files if that is part of the scope.

As needed for life events: Pre-move, post-move, renovation prep, new baby, child leaving for college, managing an estate, major purchase that displaces existing items.

The annual total time investment for a household following this framework is far less than a single intensive annual sweep that starts from a year of accumulated clutter. The maintenance burden is distributed, the decision fatigue is lower because no single session requires hundreds of decisions, and the result is a home that stays at a manageable baseline rather than oscillating between overwhelm and recovery.


Frequently Asked Questions

Is it better to declutter all at once or room by room?

Room by room, or better yet category by category within a defined time window, produces more sustainable results than whole-home purges for most households. A whole-home declutter in a single weekend creates decision fatigue that leads to worse decisions at the end of the session and exhaustion that discourages maintenance. Breaking the work into smaller sessions by area or category keeps decision quality high and makes it easier to fit the work into regular life without treating it as a major project.

How do I know when something has been decluttered enough?

A useful test: every item in a space should have a designated home, and everything in the space should be something you use, need, or genuinely value. If you cannot quickly identify where an item lives when it is not in use, or if you feel reluctant when looking at a category of items, those are signs the area needs more decluttering. The goal isn’t minimalism for its own sake; it is a home where finding things is easy, and the space reflects current life rather than past accumulation.

What should I do with items I want to keep but don’t have room for?

Evaluate whether the item genuinely belongs in the active living space or in longer-term storage. Seasonal items, sentimental items, items tied to a life phase you’ve moved past but aren’t ready to let go of, and furniture or equipment that doesn’t fit your current home but might fit the next one are all candidates for offsite storage rather than in-home storage. A climate-controlled unit prevents deterioration during storage and keeps items accessible when you need them.

How do I motivate myself to keep up with decluttering?

The most reliable motivator is starting small enough that the session always ends before you run out of energy. A fifteen-minute timer on one drawer or one shelf produces a visible result without the exhaustion that comes from a multi-hour session. Visible progress motivates more than intention. The other reliable approach is anchoring decluttering sessions to existing habits: the Sunday evening reset of surfaces, the seasonal clothing swap, the pre-holiday clear-out. Habits that are attached to existing routines require less activation energy than habits that stand alone.

Should children be involved in decluttering their own things?

Age-appropriately, yes. Children who participate in decisions about their own belongings develop a more conscious relationship with their possessions and are more likely to maintain the results of a declutter than children who return from school to find their room reorganized without their input. For younger children, the approach should be guided rather than unilateral, with the parent setting the framework (we are making room for new things by letting go of things we have outgrown) and the child making specific decisions within that framework where possible.

How to Reorganize an Overcrowded Storage Unit

Most advice on this topic jumps straight to bins and labels, as if every overcrowded unit has the same problem: bad organization. Sometimes that’s true. Just as often, the real issue isn’t how the unit is organized at all, it’s that there’s genuinely too much stuff for the space, and no shelving system fixes that. Before you spend a weekend emptying and restacking, it’s worth figuring out which situation you’re actually in.

The Short Answer

Reorganizing an overcrowded unit generally means emptying it completely, sorting and purging what you no longer need, grouping what’s left by category, and rebuilding the layout around a walkway and frequency of use, front-loading what you need often and pushing rarely used items to the back. That process works well when the underlying problem is a lack of system. If you empty the unit and realize everything you own genuinely doesn’t fit no matter how it’s arranged, the actual fix isn’t a better system, it’s a bigger unit.

Before You Start: Figure Out Why It Got This Way

Overcrowded units tend to happen for one of a few reasons, and the right fix depends on which one applies:

  • The “just cram it in” habit. Something got returned to the unit after a partial move or a project, and instead of finding its proper place, it got wedged wherever there was a gap. Repeated enough times, this alone can turn an organized unit into chaos.
  • No system was ever established. Items went in as they came, without categories, labels, or a layout, so every visit added a little more disorder on top of the last.
  • Life added more than the unit was sized for. A unit that fit everything comfortably at move-in can genuinely be outgrown a year or two later as more gets added and little gets removed.

The first two are organization problems, and the process below will genuinely fix them. The third is a size problem, and it’s worth being honest with yourself about which one you’re facing before investing a weekend into reorganizing a unit that was never going to hold everything in it comfortably.

If It’s a System Problem: The Actual Reorganizing Process

If the unit’s contents would reasonably fit with a better setup, this is the process that actually works:

  • Empty it completely. There’s no reliable way to reorganize around what’s already piled in. Pulling everything out is the only way to see what you actually have.
  • Sort and purge as you go. This is the point to genuinely decide what’s worth keeping in storage versus what should be sold, donated, or discarded. An overcrowded unit is often carrying more dead weight than its owner realizes.
  • Group what’s left by category, seasonal items together, furniture together, documents together, rather than by whatever order things happen to come out of a moving truck.
  • Use uniform, clear containers where possible. Matching sizes stack more safely and predictably than a mismatched pile of boxes, and clear bins mean fewer boxes need to be opened just to find something.
  • Label clearly on a side that faces out, not just the top, since most labels become useless the moment something else gets stacked on top of the box.
  • Rebuild the layout around a walkway, and put whatever you access most often near the front rather than burying it behind everything else.
  • Keep a simple inventory, even a basic list on your phone, so future visits don’t turn into a full excavation to confirm what’s actually in there.

If It’s a Size Problem: When Reorganizing Won’t Actually Fix It

Here’s the situation most organizing guides don’t want to admit exists: sometimes a unit is overcrowded because it’s simply too small for what’s being stored in it, and better bins won’t change that. A few signs point to this:

  • You empty the unit and can’t create a walkway no matter how you arrange things.
  • Boxes have to be stacked to the ceiling with no reasonable way to reach the ones near the top.
  • You’ve stopped being able to identify what’s in the unit at all, because everything is packed too tightly to see or access.

If that describes your situation, the honest answer isn’t a better system, it’s more space. This is worth checking before you invest time reorganizing a unit that will always feel overcrowded. Our space estimator can help you figure out what size would actually fit everything comfortably, and moving into a larger unit is often simpler than people expect, particularly at a facility where you’re already a customer.

How to Maximize Space in an Overcrowded Storage Unit

A Quick Note on Climate and Airflow

An overcrowded unit doesn’t just make things hard to find, it can also make heat-related damage harder to catch early. Items packed tightly against walls or each other block airflow and make it much harder to spot moisture, odor, or pest issues before they spread. We’ve covered how Arizona’s heat affects stored items in more detail elsewhere, but it’s worth knowing that a properly organized unit, with reasonable space between items, is easier to monitor for exactly the kinds of problems that show up faster in extreme heat.

Keeping It From Happening Again

Reorganizing once doesn’t guarantee the unit stays that way. A quick check-in every few months, not a full reorganization, just a look to confirm the walkway is still clear and nothing’s been crammed into a gap, is usually enough to prevent the slow slide back into clutter. We’ve covered a fuller approach to this in our guide on how often you should check on your storage unit.

When you do reorganize, keep basic safety in mind: unstable stacks of heavy or oddly shaped items are a genuine tip-over and injury risk, and the U.S. Consumer Product Safety Commission has general guidance on safe storage and stacking practices worth keeping in mind, particularly with anything heavy going up high.

Frequently Asked Questions

Should I empty my whole storage unit to reorganize it?

Yes, generally. It’s difficult to create a genuinely usable layout around whatever’s already piled up. Emptying it is the only reliable way to see what you actually have and rebuild a system that works.

How do I know if I need a bigger unit instead of just reorganizing?

If you empty the unit and still can’t create a clear walkway, or items have to be stacked with no reasonable way to access what’s near the top or back, that’s a sign the unit itself is too small for what you’re storing, not that your organization system is the problem.

What’s the best way to keep a storage unit from becoming overcrowded again?

Check in every few months, purge items you no longer need as you go rather than letting them accumulate, and resist the habit of cramming something into the first available gap instead of putting it back where it belongs.

Is it worth using shelving in a storage unit?

Yes, for most units. Freestanding shelving takes advantage of vertical space, keeps boxes off the floor, and prevents lighter boxes from being crushed under heavier ones stacked directly on top.

The Bottom Line

An overcrowded unit usually isn’t a mystery once you actually empty it out and look. Either the system was missing, in which case the process above genuinely fixes it, or the unit has been outgrown, in which case the honest move is sizing up rather than fighting the same battle every few months. Figuring out which one applies before you start saves a lot of wasted effort.

If reorganizing reveals that you’ve outgrown your current space, McDowell Mountain Community Storage offers a range of fully indoor, climate-controlled unit sizes, so moving up doesn’t have to mean starting over somewhere new. Explore our storage units in Scottsdale or call us at (602) 899-5484 to talk through the right size for what you’re storing.

How Often Should You Check on Your Storage Unit?

Most advice on this topic assumes you can drive over whenever you decide it’s time. Check in every few months, the guides say, pop in and take a look around. That’s fine advice if you live ten minutes from your unit year-round. It’s a lot less useful if you’re one of the many Scottsdale storage customers who spend a good chunk of the year somewhere else entirely.

The Short Answer

As a general rule, long-term storage items warrant a check every three to six months, seasonal items should be looked at whenever you’re swapping them in or out, and valuables or important documents are worth a monthly glance if practical. In Scottsdale specifically, two local factors change that math: extreme summer heat that can affect certain items faster than in milder climates, and a large seasonal population that’s genuinely out of state, not just busy, for stretches of the year. If that’s your situation, the honest answer isn’t just “check more often,” it’s “have a plan for when you can’t check at all.”

Why This Question Matters More Here Than in Most Places

Desert heat isn’t just uncomfortable, it actively affects certain stored materials faster than a moderate climate would, particularly anything with adhesive, electronics, photographs, or fabric in a non-climate-controlled space. We’ve covered the specifics of how Arizona’s heat affects stored items in detail elsewhere, but the short version is that the margin for letting something sit unchecked is genuinely narrower here during peak summer months than it would be in a cooler climate. That makes the general “check every few months” advice a little riskier to follow blindly if your unit isn’t climate-controlled and your items are heat-sensitive.

The Snowbird Problem: What Do You Do When You’re Not Even in the State?

This is the part that generic storage advice completely misses, and it’s a real situation for a large share of customers in this market. If you’re a seasonal resident who heads north for the summer, “just check in every few months” isn’t really an option for the months you’re gone entirely. A few practical approaches work better than hoping nothing happens while you’re away:

  • Designate a trusted local contact who can check your unit on your behalf during the months you’re away, particularly if you’re storing anything valuable or heat-sensitive.
  • Photograph your unit before you leave. A quick set of photos showing how everything is arranged gives you, or whoever checks on your behalf, a clear baseline to compare against later.
  • Choose a climate-controlled unit if you’re going to be away for an extended stretch, since it meaningfully reduces how much can go wrong in your absence compared to a non-climate-controlled space sitting through a full desert summer.
  • Ask about facility-level options before you leave, since policies vary by location on whether staff can flag anything unusual during your absence.

If you’re a seasonal resident specifically, our guide on storage tips for snowbirds in Scottsdale covers more of what to plan for before you head out for the season.

General Frequency Guidelines, and Where They Still Apply

For anyone not dealing with extended absences, the standard guidelines are still a reasonable starting point:

  • Long-term, low-use items like extra furniture or keepsakes: a check every three to six months is generally sufficient.
  • Seasonal items like holiday decorations or seasonal clothing: check whenever you’re rotating them in or out, which naturally lines up with a reasonable visit schedule.
  • Valuables, documents, or anything you’d want to catch a problem with quickly: a monthly look, even a brief one, is worth the habit.
  • Business inventory: frequency depends entirely on how often you’re restocking or pulling items, which for many businesses means weekly or more.

What to Actually Look For When You Check

A quick visit is more useful if you know what you’re checking for, rather than just glancing around:

  • Musty odors or visible moisture, which can indicate a humidity issue worth addressing before it spreads to more items.
  • Signs of pests, including droppings or chewed packaging.
  • Items that have shifted or fallen, particularly if boxes were stacked and haven’t been checked in a while.
  • Anything that looks different from your baseline photos, if you took them before an extended absence.

Persistent moisture or mold concerns in any enclosed storage space are worth taking seriously, and general prevention guidance from the EPA’s mold and moisture resources applies just as well to a storage unit as it does to a home.

How Often Should You Visit Your Storage Unit?

How Climate-Controlled Storage Changes the Math

This is genuinely one of the more practical reasons climate control matters more here than in a milder climate. A non-climate-controlled unit sitting through a Scottsdale summer faces swings and extremes that a climate-controlled space doesn’t, which means the cost of going a little longer between visits is meaningfully lower when the unit itself isn’t subject to those extremes in the first place. It doesn’t eliminate the value of checking in, but it does buy real margin for anyone who genuinely can’t get to their unit as often as they’d like.

Frequently Asked Questions

How often should I check on a storage unit if I’m out of state for months?

If you can’t check it yourself, arrange for a trusted contact to look in on your behalf, particularly during peak summer months if your unit isn’t climate-controlled. Photographing the unit before you leave gives you a clear baseline to compare against when you or your contact does check.

Does climate control reduce how often I need to check my unit?

It doesn’t eliminate the value of checking, but it meaningfully reduces the risk of heat-related damage between visits, which matters more in a desert climate than in a milder one.

What should I look for when I visit my storage unit?

Check for musty odors, visible moisture, signs of pests, and anything that looks shifted or different from how you left it. Catching these early is usually much easier than finding them months later.

Is it normal to go several months without checking a storage unit?

For low-use, long-term items in a climate-controlled unit, this is generally reasonable. For heat-sensitive items in a non-climate-controlled space, or during an extended absence from the state, it’s worth having a more deliberate plan rather than simply letting time pass.

The Bottom Line

The generic “check every few months” advice repeated across most storage guides assumes you’re always within easy reach of your unit. For many people storing in Scottsdale, especially seasonal residents, that assumption doesn’t hold for much of the year, which makes planning ahead, climate control, and a trusted local contact more important than the standard advice suggests.

If you’re choosing a unit with exactly this in mind, McDowell Mountain Community Storage offers fully indoor, climate-controlled units built for this climate, along with a team that understands what seasonal residents actually need. Explore our storage units in Scottsdale or call us at (602) 899-5484 to talk through the right setup for your situation.

When Is the Best Time to Rent a Storage Unit in Scottsdale?

Search this question, and almost every answer says the same thing: rent in winter when demand is low, avoid summer when everyone’s moving, and prices spike. That’s genuinely good advice in most of the country. It’s also advice built for a snow-belt city where cold weather keeps people indoors and off the road. Scottsdale doesn’t run on that calendar, and following it here can actually lead you to book at the wrong time.

The Short Answer

Nationally, winter tends to be the cheapest, lowest-demand time to rent a storage unit, and summer the most expensive. In Scottsdale, that pattern shifts because of our large seasonal snowbird population. Most snowbirds arrive in October or November and head back north in March or April, which means demand here often runs higher through the fall and winter months than the generic national advice would suggest, and can ease up more in the heart of summer once the seasonal population has left. If your timing is flexible, mid-summer is often a better window locally than the “rent in winter” advice you’ll read everywhere else.

Why the National Advice Gets Scottsdale Backwards

The standard reasoning behind “rent in winter” is simple: cold, dark, unpleasant weather keeps people from moving, so storage facilities see less traffic and drop their rates to fill space. That logic assumes moving activity is driven mainly by weather comfort and the school calendar. In Scottsdale, there’s a second, larger force at work that most national content never accounts for: a substantial population of seasonal residents whose storage needs are tied to a completely different rhythm than local moving patterns. Every year, when temperatures up north turn unbearable, snowbirds arrive here for the winter, and every spring, when the desert heat starts climbing past 110 degrees, they head back. That cycle, not the school calendar, is one of the bigger drivers of demand in this specific market.

Scottsdale’s Actual Demand Calendar

Rather than the generic winter-low, summer-high pattern, storage demand in this area tends to track the snowbird cycle fairly closely:

  • Fall (roughly September through November): As seasonal residents arrive and settle in for the winter, demand for units tends to pick up, particularly for shorter-term, flexible rentals suited to a multi-month stay.
  • Winter (December through February): With the seasonal population fully in place alongside year-round residents, this stretch often runs busier locally than the “quiet winter” the national advice describes.
  • Spring (March through April): As snowbirds prepare to head north for the summer, many need storage for exactly the opposite reason they did in the fall, somewhere to keep patio furniture, vehicles, and belongings safe from the coming heat while they’re away for months at a time.
  • Summer (May through August): With a large share of the seasonal population gone, this stretch is often when local facilities have the most breathing room, even though it’s peak “moving season” nationally.

None of this means summer is universally the cheapest time everywhere in the Phoenix metro, availability still depends on the specific facility and what’s happening locally that year, but it’s a meaningfully different pattern than the blanket seasonal advice repeated across most articles on this topic.

What This Means If You’re Trying to Time It Right

If your move or storage need has some flexibility, the mid-summer months are often a more realistic window for better availability locally than the winter timing most guides recommend. If you already know you’ll need a unit in the fall or winter, whether you’re a seasonal resident arriving for the season or a local resident planning a move during that stretch, it’s worth reserving earlier than you might otherwise assume, since that’s often when this market runs closer to capacity. If you’re a snowbird yourself, our guide on storage tips for snowbirds in Scottsdale goes into more detail on sizing and timing a seasonal rental specifically.

When Is the Best Time to Rent a Storage Unit?

Beyond the Calendar: What Actually Matters More Here

Timing is one factor, but in a desert climate, a few other considerations affect your decision more than the time of year does:

  • Climate control isn’t optional for most items. With summer temperatures routinely climbing past 110 degrees, non-climate-controlled storage can put furniture, electronics, documents, and anything with adhesive or fabric at real risk, regardless of what month you rent. Our guide on how Arizona’s heat affects your stored items covers this in more detail.
  • Locking in a rate matters more than chasing a season. Reserving a unit before you actually need it, rather than waiting for a hypothetical better deal, often matters more than which month you sign the lease.
  • Move-in specials come and go independent of season. Facilities frequently run promotions unrelated to the broader seasonal pattern, so it’s always worth asking what’s currently available rather than assuming based on the calendar alone.

If You Need Storage Now, Don’t Wait on the Calendar

None of this is a reason to delay a move you actually need to make. If you need a unit now, the better move is almost always to reserve it now, ask what current specials apply, and choose the right size and features (climate control, ground-floor access, drive-up loading) for what you’re storing, rather than gambling on a seasonal dip that may not materialize the way you’d expect. Our size guide can help you figure out what unit actually fits your needs before you commit.

Frequently Asked Questions

Is winter really the cheapest time to rent a storage unit?

Nationally, that’s generally true, since cold weather suppresses moving activity in most of the country. In Scottsdale specifically, winter often coincides with peak snowbird season, which can keep local demand higher than the national pattern would suggest.

When is storage demand lowest in Scottsdale?

Demand often eases in the middle of summer, once much of the seasonal population has left for cooler climates, even though summer is typically the busiest moving season nationally.

Should I wait for a specific season to get a better deal?

Not necessarily. Move-in specials and availability vary by facility and by year, and they don’t always track the broader seasonal pattern. If you need a unit, reserving early and asking about current promotions is usually more reliable than timing your rental around a specific month.

How far in advance should I reserve a storage unit in Scottsdale?

If your move falls during the fall or winter months, when local demand tends to run higher due to the seasonal population, reserving a few weeks ahead of when you need the unit is a reasonable buffer. For summer moves, availability is generally easier to come by on shorter notice.

The Bottom Line

The generic “rent in winter” advice repeated across most storage guides is built for a market that doesn’t really exist in Scottsdale. Here, the snowbird season shapes demand more than the school calendar or the weather ever will, which means the smartest timing often looks different than what you’ll read almost everywhere else.

If you’re planning a move or trying to figure out the right time to reserve, McDowell Mountain Community Storage offers fully indoor, climate-controlled units, flexible month-to-month leases, and a team that understands exactly how this market’s seasonal rhythm actually works. Explore our storage units in Scottsdale and ask about current move-in specials, or call us at (602) 899-5484 to reserve.

How to Keep Your Storage Unit Secure

Most guides on this topic give you the same list: buy a good lock, pick a facility with cameras, avoid drive-up units if you can. That advice is correct, and we’ll cover it. But it treats storage security as a single problem, one that a strong enough lock and enough cameras can solve. In practice, it’s three separate problems, and the one that causes the most real losses is the one almost no guide mentions at all, because it doesn’t involve anyone breaking in.

Storage Security Is Three Problems, Not One

Every security failure at a storage facility falls into one of three categories, and each one calls for a different fix. Opportunistic risk is the break-in most people picture: someone cuts a weak lock or tries doors down a row hoping to find one unlocked. Facility risk is about what the building itself gets right or wrong: lighting, camera coverage, who can get through the gate. Access risk is the one nobody talks about: your unit gets opened by someone who technically has a way in, a shared code, an old key, a forgotten authorization, without anything being broken at all. A security plan that only addresses the first two is still leaving a door open.

Opportunistic Risk: The Break-In Everyone Pictures

This is the scenario most lock and camera advice is written for, and the fundamentals genuinely matter. A cheap keyed padlock can be defeated with bolt cutters in seconds, which is why a disc lock, the round, low-profile style designed to resist cutting and prying, is the standard recommendation for storage units specifically. Lock hardware is graded by the American National Standards Institute (ANSI) and the Builders Hardware Manufacturers Association, and a Grade 1 or Grade 2 rated lock has actually been tested against forced entry rather than just advertised as sturdy.
Beyond the lock itself, a few habits reduce opportunistic risk further: avoid stacking visible high-value items right at the front of the unit where a quick glance through a gap reveals what’s inside, don’t leave shipping boxes with brand names for electronics or appliances facing outward, and, if you have a choice between an interior unit and an exterior drive-up, an interior unit accessible only from inside the building is simply harder for someone to approach unnoticed.

Facility Risk: What the Building Itself Has to Get Right

This is where the facility you choose does most of the work, regardless of how good your own lock is. Consistent camera coverage across hallways and entry points, not just the parking lot, adequate lighting in every corridor and stairwell, and a facility that’s actively managed rather than automated and unattended all reduce the odds that someone spends unsupervised time near your unit in the first place. An indoor facility with multiple loading docks and elevator access, rather than a single row of exterior doors facing an open lot, also limits how much of the building is visible or approachable from outside at all.
None of this replaces your own lock. It changes the odds that someone gets the uninterrupted time and privacy a break-in requires, which is a large part of what actually deters opportunistic theft in the first place.

Access Risk: The Threat Nobody Locks Out

Here’s the category every other guide skips, and it’s the one we hear about most after the fact. A unit doesn’t need to be broken into if someone already has a legitimate way to open it. This happens more often than people expect, and almost always through the same handful of patterns:
  • Gate codes or door codes that outlive their purpose. A code given to movers, a contractor, or a family member helping you load up doesn’t expire on its own. Months later, it still works.
  • Keys or locks that were never changed. If you rented a used lock, inherited access from a shared arrangement, or a relationship or living situation changed, an old key floating around somewhere is a real risk that has nothing to do with the strength of the lock itself.
  • Authorized users who are no longer supposed to be authorized. A former roommate, a former business partner, or an ex-spouse listed on the account can often still access the unit until someone actively removes them, not automatically when the relationship ends.
  • Sharing more than intended. A code or key handed to one person for a single visit can end up copied or passed along without any bad intent at all, simply because nobody thought to change it afterward.
The fix for all of these is the same habit, and it costs nothing: treat your gate code and lock like you’d treat a house key. Change the code after any one-time use by a mover or contractor, swap the lock if you’re not certain who else might have a key, and review who’s listed as authorized on your account any time a living situation or relationship changes. This is the single most overlooked piece of storage security, precisely because it doesn’t involve buying anything.
Best Practices for Keeping Your Storage Unit Secure

A Quick Storage Security Checklist

  • Use a disc lock or an ANSI Grade 1 or 2 rated lock, not a basic keyed padlock.
  • Choose an interior unit over an exterior drive-up when it’s available.
  • Avoid leaving branded boxes or valuables visible near the unit door.
  • Confirm the facility has consistent lighting and camera coverage throughout, not just at the entrance.
  • Change your gate code after any mover, contractor, or one-time helper has used it.
  • Swap the lock if you’re ever unsure who else might have a key.
  • Review who’s authorized on your account whenever your household or business situation changes.

What This Looks Like at McDowell Mountain Community Storage

Our facility is built around addressing all three categories, not just the lock on your door. Every unit is fully indoor with 4K digital security camera coverage throughout the property, and being locally owned and operated means the person managing the facility is actually familiar with the tenants, which matters for catching the access-risk pattern of an outdated authorization or an unfamiliar face that a corporate, unstaffed facility can miss entirely. With over 660 units, multiple loading docks, and two elevators, we also give tenants the option of interior, ground-floor, or upper-floor placement depending on what best fits their situation.
If you’re setting up a new unit, our storage tips page covers the packing side of protecting your belongings, which pairs well with the security habits above. If you’re ready to find the right space, our storage units in Scottsdale range from 5×5 to 10×25, with month-to-month terms and no long-term commitment required.
To reserve your storage unit or learn more about your options, contact McDowell Mountain Community Storage at (602) 899-5484. Our friendly team is ready to help you find the right unit size and answer any questions, so you can store your belongings with confidence.

Frequently Asked Questions

What kind of lock is best for a storage unit?

A disc lock is the industry standard for storage units because its rounded, low-profile shape resists bolt cutters and prying far better than a standard keyed padlock. Look for an ANSI Grade 1 or Grade 2 rating for the strongest tested performance.

Are indoor storage units more secure than drive-up units?

Generally, yes. An interior unit accessible only from inside the building limits how easily someone can approach or observe it from outside, whereas a drive-up unit facing an open lot is more exposed and easier to approach unnoticed.

How often should I change my storage unit’s access code?

Anytime someone outside your household, a mover, a contractor, or a one-time helper, has used your code to access the unit. It’s also worth reviewing periodically if you’re not certain everyone who currently has the code should still have it.

Should I tell the facility if a relationship or authorized user situation changes?

Yes. If someone previously listed as authorized on your account no longer should be, whether due to a relationship change, a business dissolution, or any other reason, update your account and consider changing the lock as well.

Does storage insurance cover theft from my unit?

Coverage varies significantly by policy and provider, and many standard renters or homeowners policies offer limited off-premises coverage. It’s worth confirming the specific terms of your coverage, or considering facility-offered protection plans, before you assume your belongings are covered.